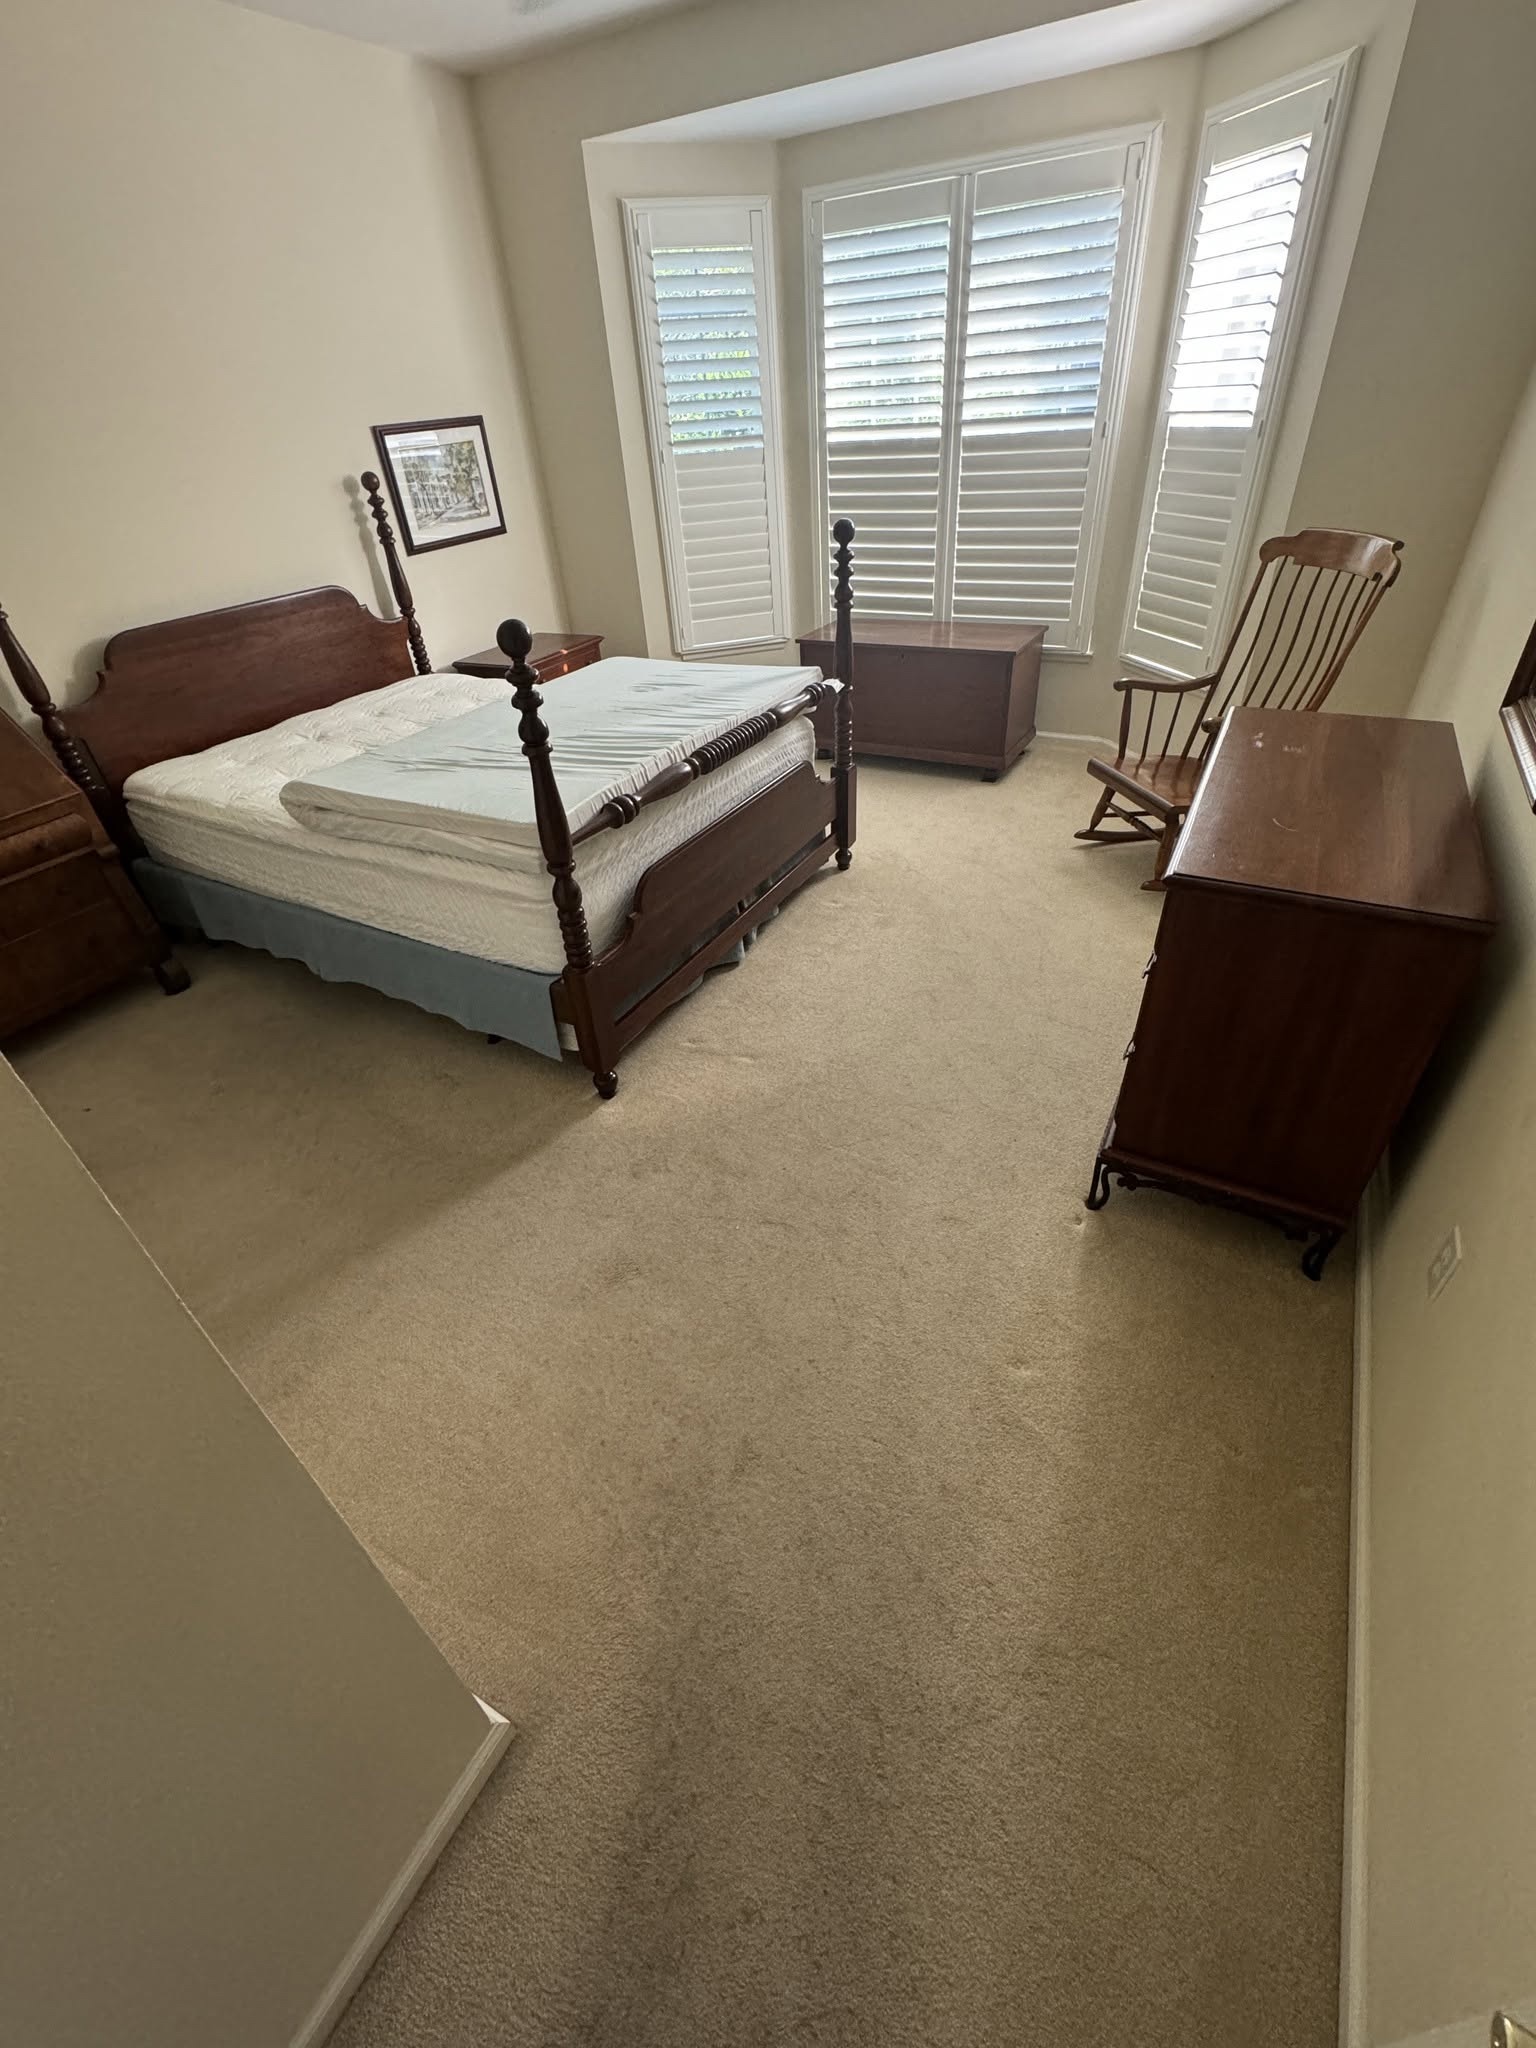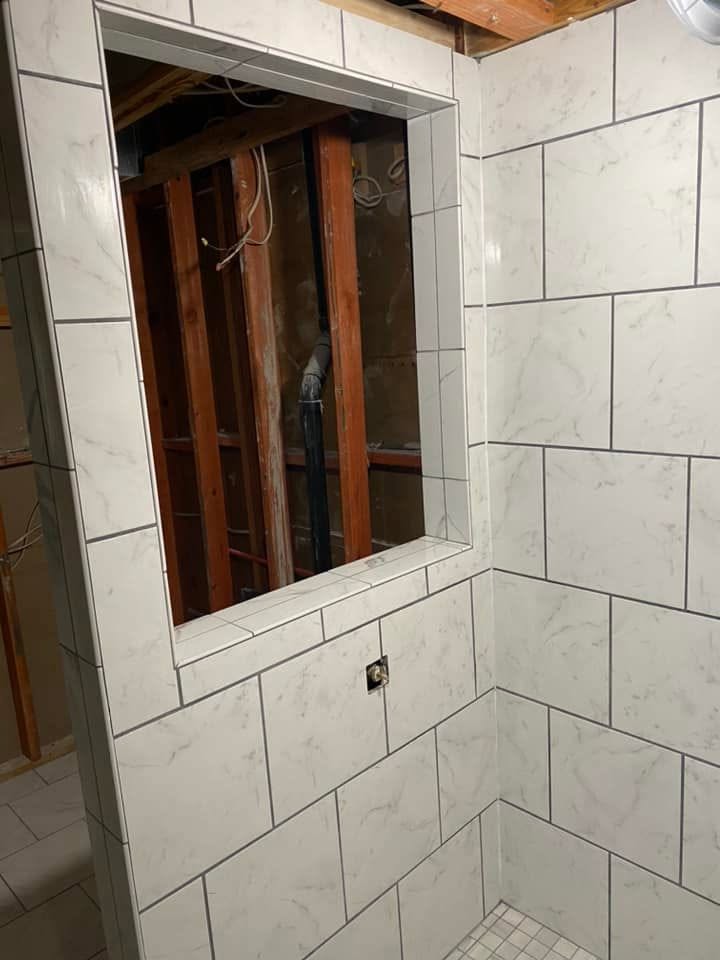
Finished tiled shower with a glass window from a Lowcountry remodel

Our Work

Real Projects, Real Lowcountry Homes

These are real project photos from our work in the Lowcountry: actual installations and on-site assessments, not stock imagery.

Project Stories

Each story shows multiple photos from the project. Use the arrows or thumbnails to look through the gallery.

Installation

Shower Tile Remodel in Sea Pines

Hilton Head Island, SC — Sea Pines

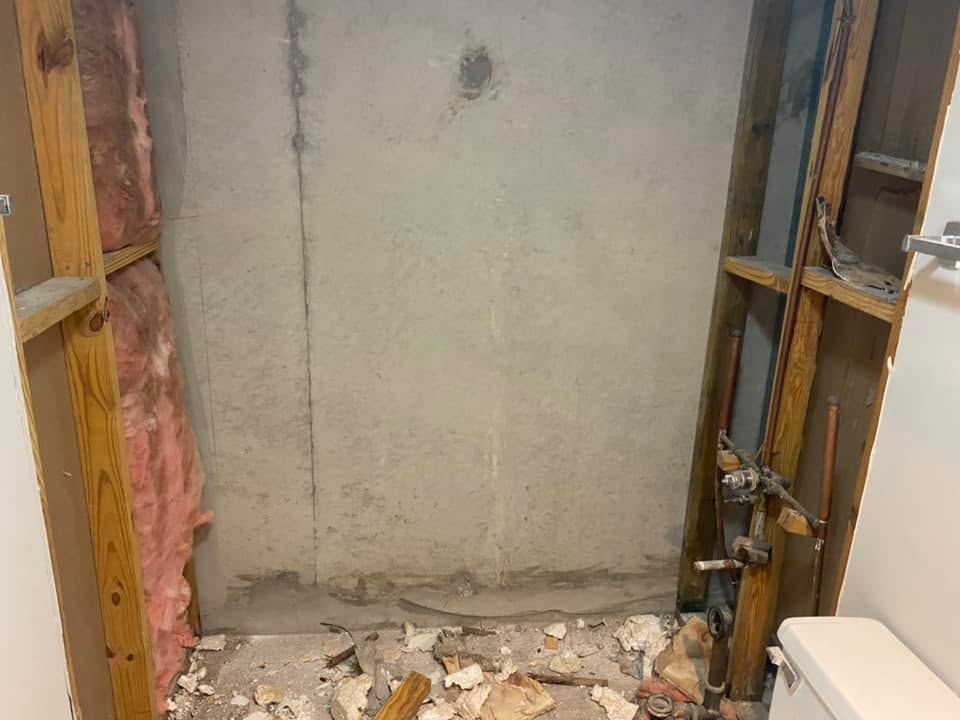
Shower wall stripped down to framing studs during demolition for the remodel.
Demolition1 / 5

This shower remodel began with demolition and a change to the wall itself. We reframed the wall to make room for a glass window, then moved into the tile installation. The new opening became part of the layout as we tiled the shower floor and walls and worked around the niche. The tiled surfaces bring those features together, taking the shower from an opened construction area to its new tiled form.

View original postRead the full story →
Assessment

Moisture and Delamination Assessment in Sun City

Bluffton, SC — Sun City

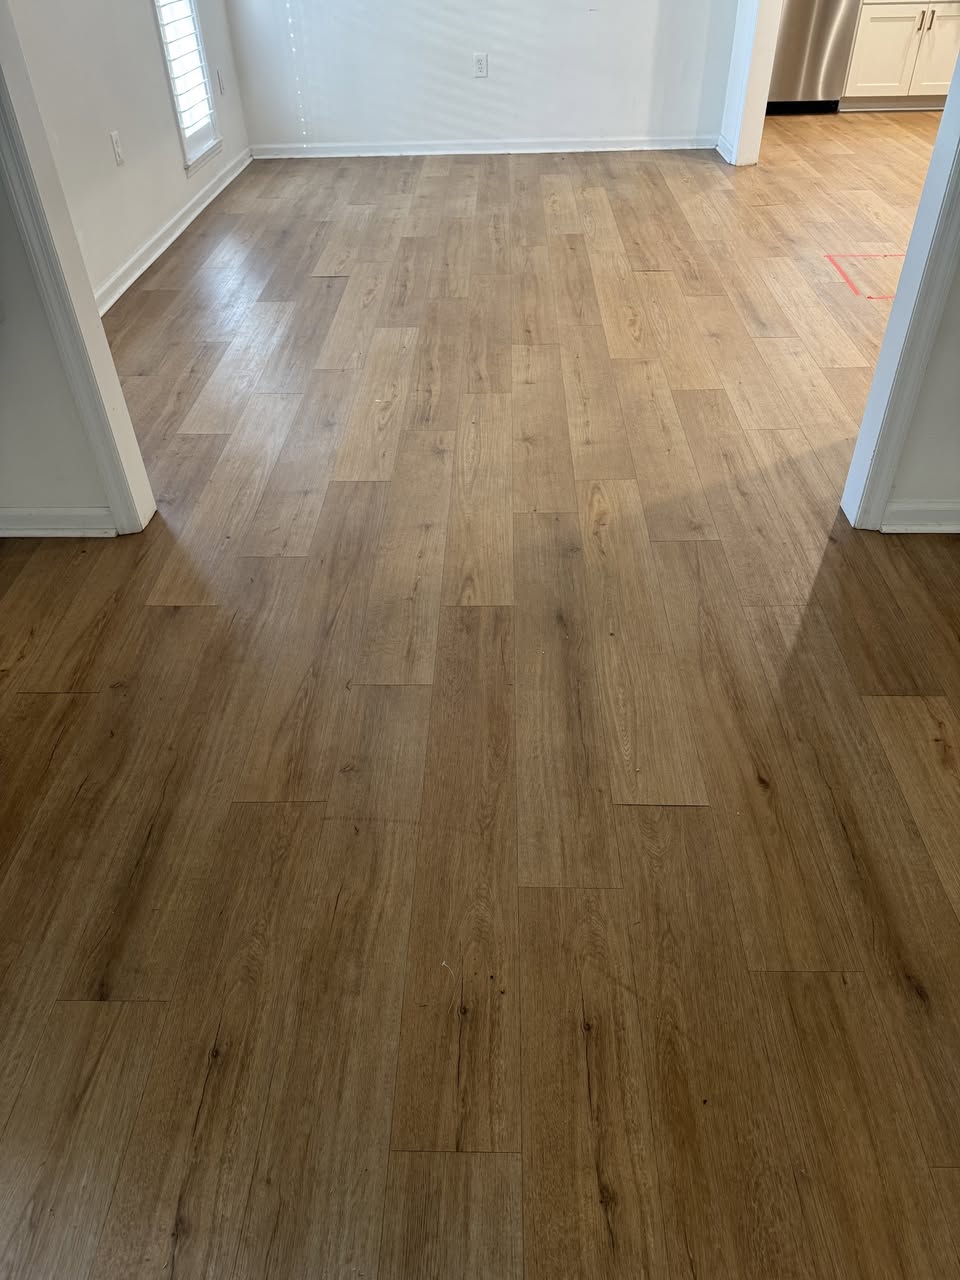
Overview of the surrounding intact floor area documented for comparison during the assessment.
Floor overview1 / 5

The floor's surface was separating. Looking below that visible damage brought the cork backing and trapped moisture into focus. We assessed the delamination alongside the conditions beneath the flooring, examining the backing as part of the investigation. That closer look gave us a fuller picture of the existing floor, including moisture that was not apparent from the top surface alone.

This is an assessment story documenting existing conditions: not a completed repair or finished outcome.

View original postRead the full story →
Repair

Bathroom Subfloor Repair in Hilton Head Plantation

Hilton Head Island, SC — Hilton Head Plantation

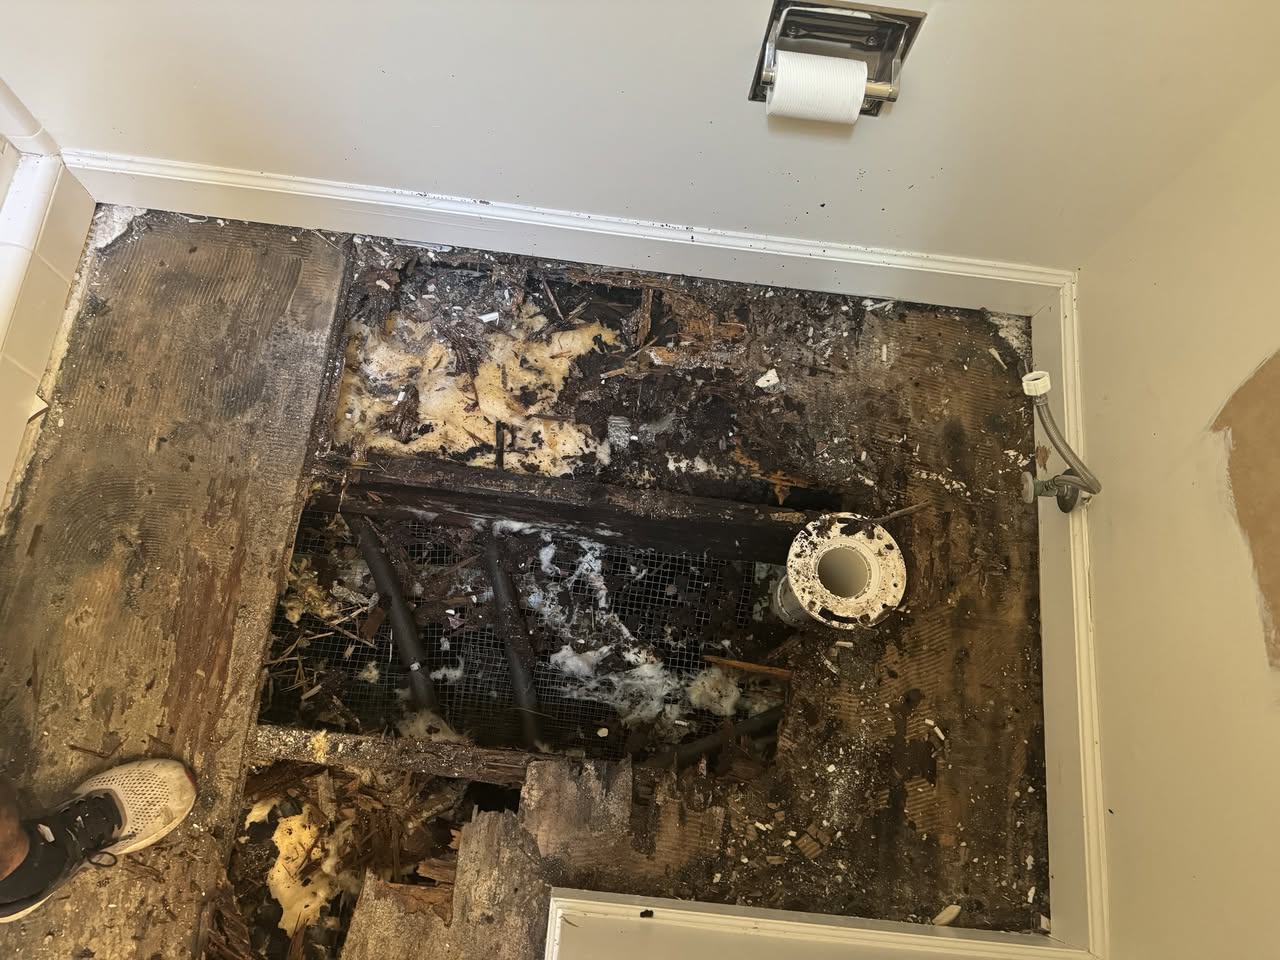
Rotted, water-damaged bathroom floor and subfloor exposed during removal, with deteriorated wood visible.
Rotted condition documented1 / 4

Taking up the old bathroom floor in this Hilton Head Island home revealed more work beneath it. We found a rotted subfloor associated with a leaking toilet wax ring. The new floor would have to follow a subfloor repair. We opened the damaged area down to the joists and installed a new plywood patch, then fitted the new water resistant flooring above it. The finished gray floor is the visible part of the change. Beneath it, the repaired subfloor is an essential part of this bathroom's story.

View original postRead the full story →
Repair

Hardwood Board Repair in Sun City

Bluffton, SC — Sun City

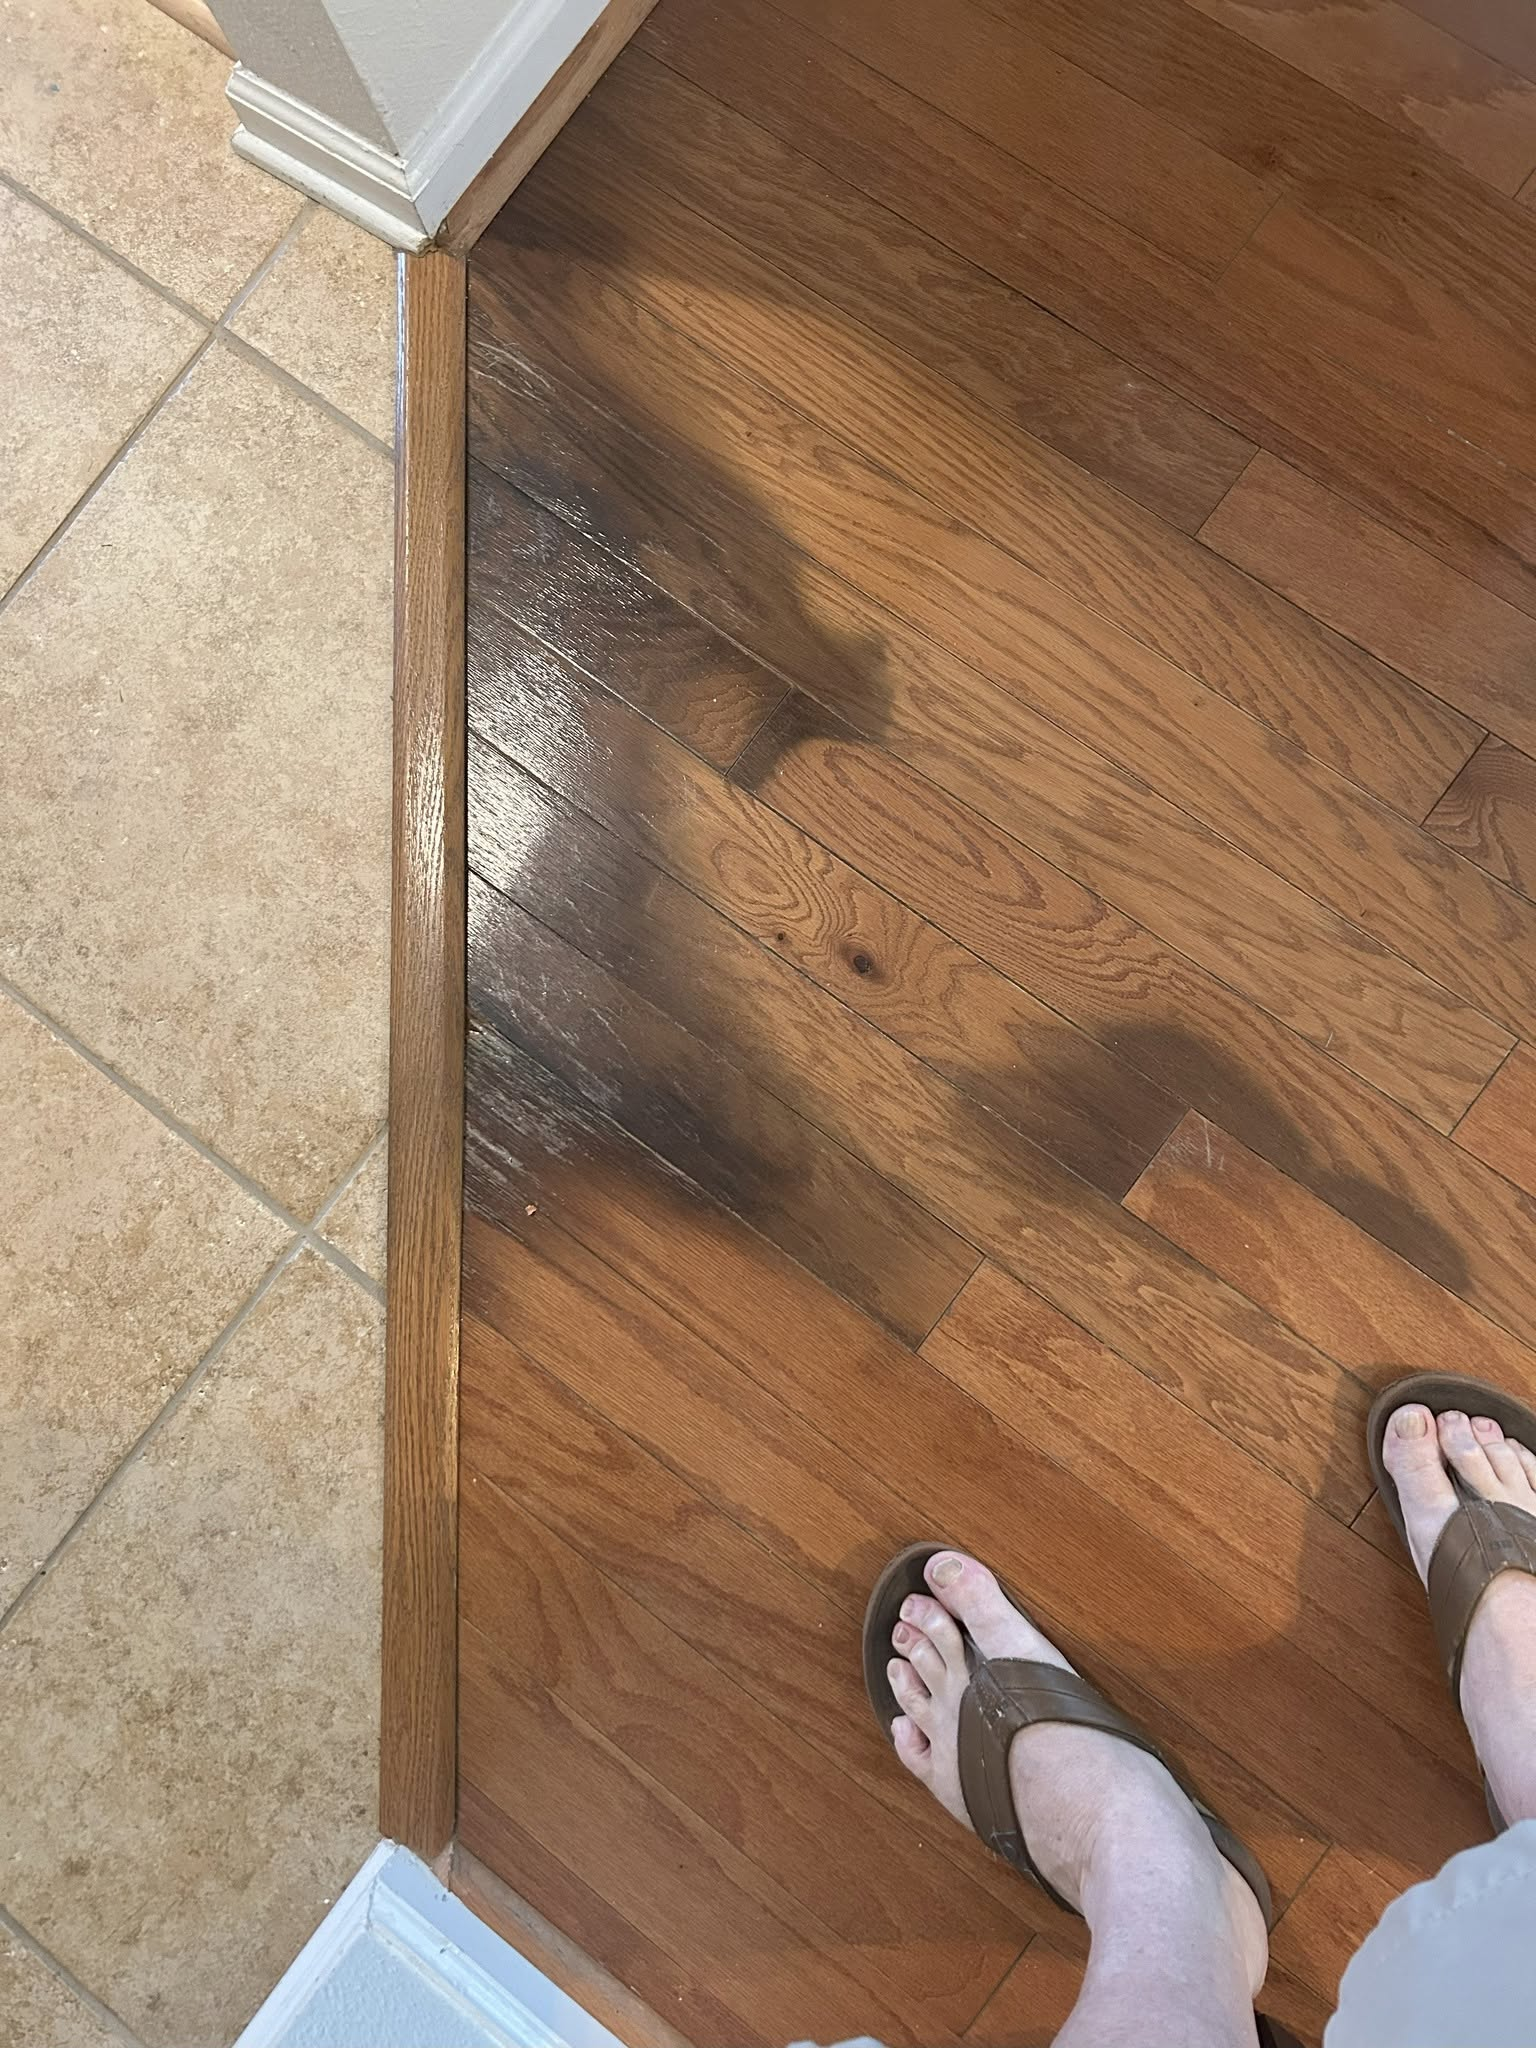
Dark, scuffed hardwood boards beside a tile transition before repair.
Before detail1 / 4

Dark, scuffed boards stood out where this hardwood floor met the tile. We focused the repair on that section, where the change between the two surfaces already draws the eye. The repaired wood has a more even appearance beside the transition. Working within that small area brought it back into the surrounding floor, with the existing hardwood continuing through the room.

View original post
Assessment

Tile Moisture Assessment in Sun City

Bluffton, SC — Sun City

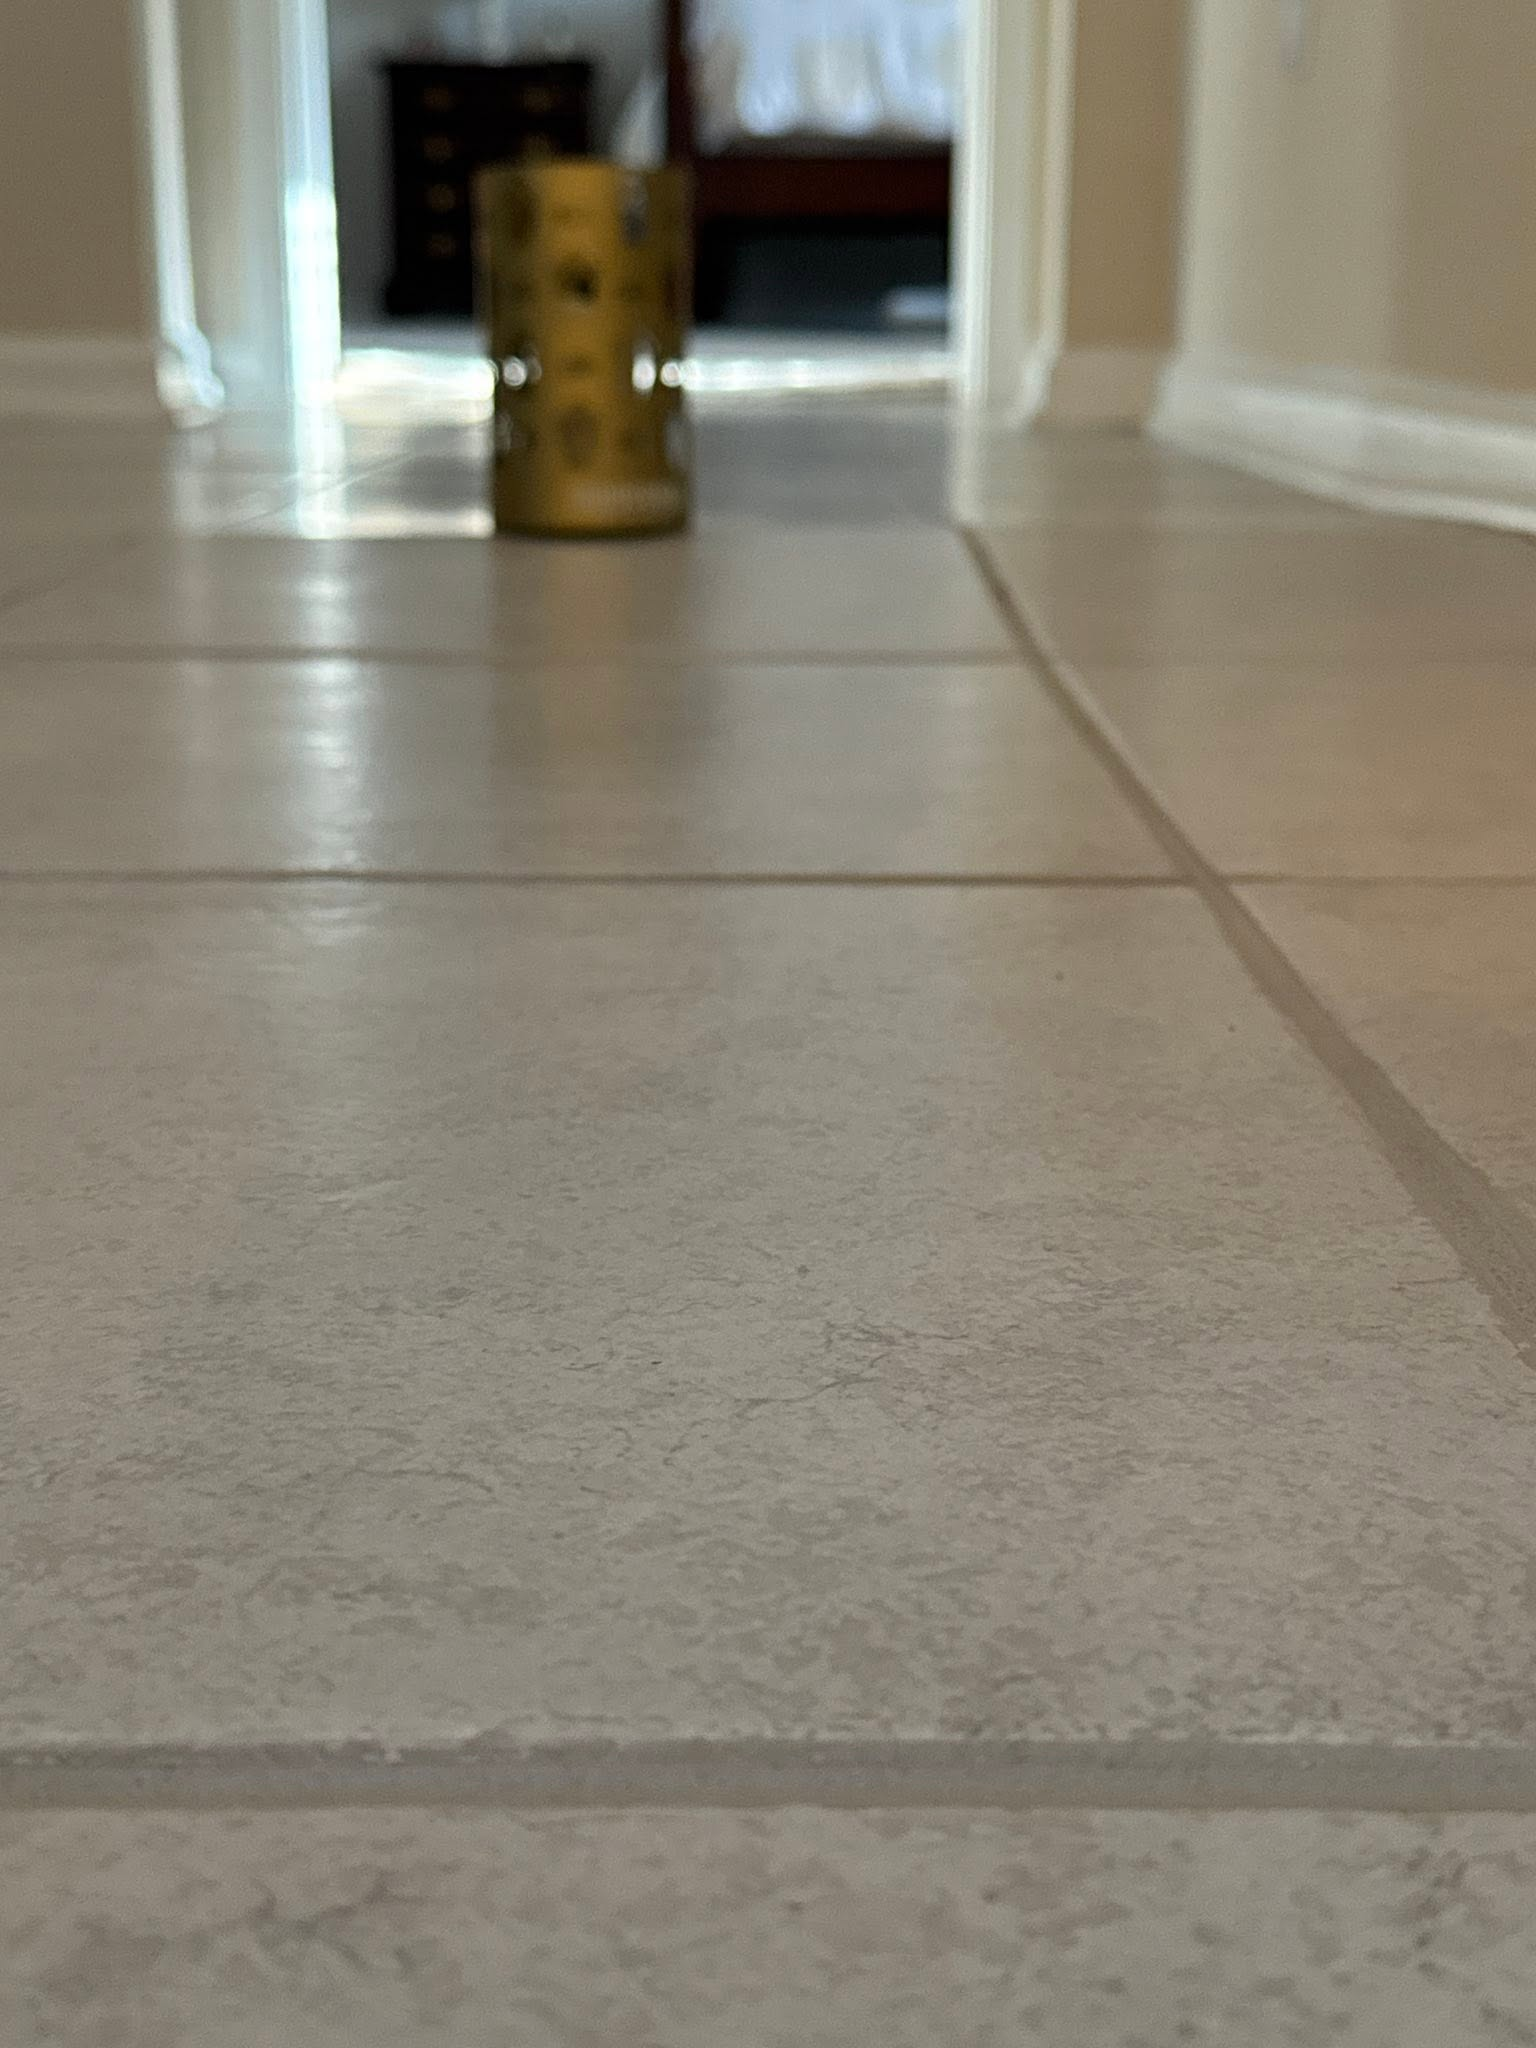
Low-angle view across a tiled floor.
Low-angle tile-floor view1 / 6

The problem was visible at the surface: tile was lifting. We opened areas of the floor and removed tile to see what was happening underneath, inspecting the exposed substrate and using a moisture meter as part of the assessment. We found anti-crack/moisture film beneath some areas and none beneath others. Our assessment traced the moisture related failure to the areas left without that coverage. The removal exposed an important detail that the finished floor had hidden. Finding those gaps gave us a clearer basis for planning what the floor needed next.

This is an assessment story documenting existing conditions: not a completed repair or finished outcome.

Installation

Engineered Wood Installation in Eagle Point: Subfloor Prep to Finish

Bluffton, SC — Eagle Point

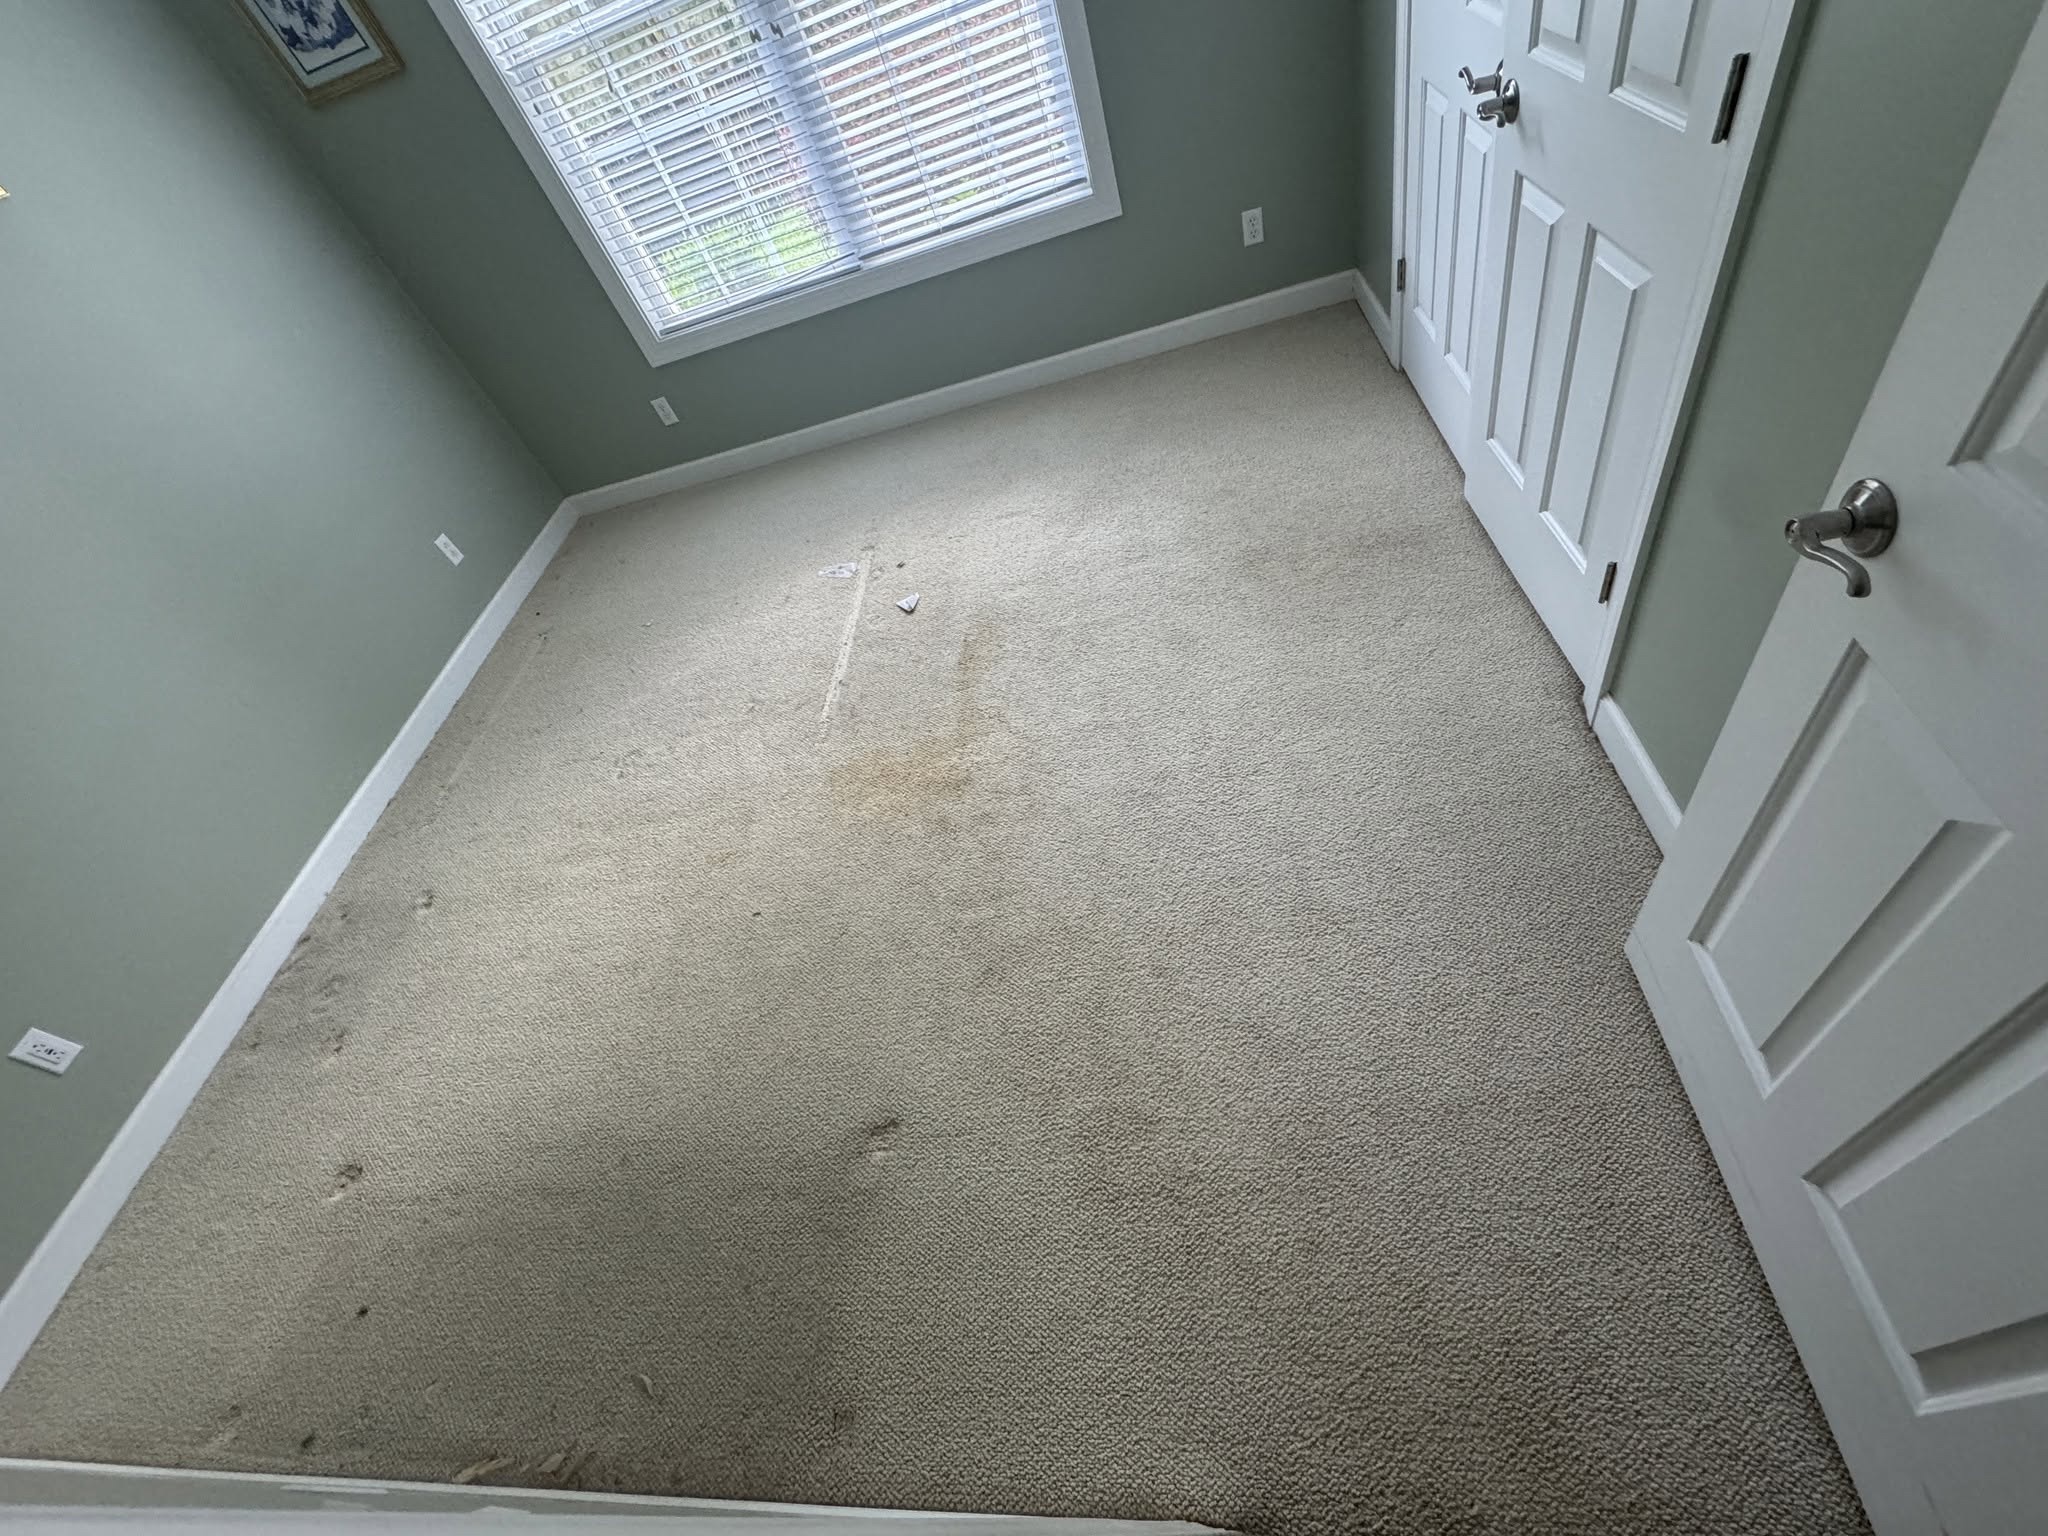
Before: carpeted room
Before: carpeted room1 / 7

Three cleans went into finishing this room. The last came when we returned the next day to complete the details around the new engineered wood floor. Getting to that point started with removing the carpet. Priming was a deliberate part of our preparation for this job. We applied primer to the exposed subfloor, then leveled it before installing the engineered wood. The boards went in with wedges and tape as part of the installation process. On our return, we removed the wedges, fitted the quarter round and completed that third and final clean. The wood, the trim and the cleanup all had their place in the job. We followed the room through from the carpet coming out to the finishing work around the edges, so the installation was complete when we wrapped up.

Repair

Laminate Floor Repair in Margaritaville

Hardeeville, SC — Margaritaville

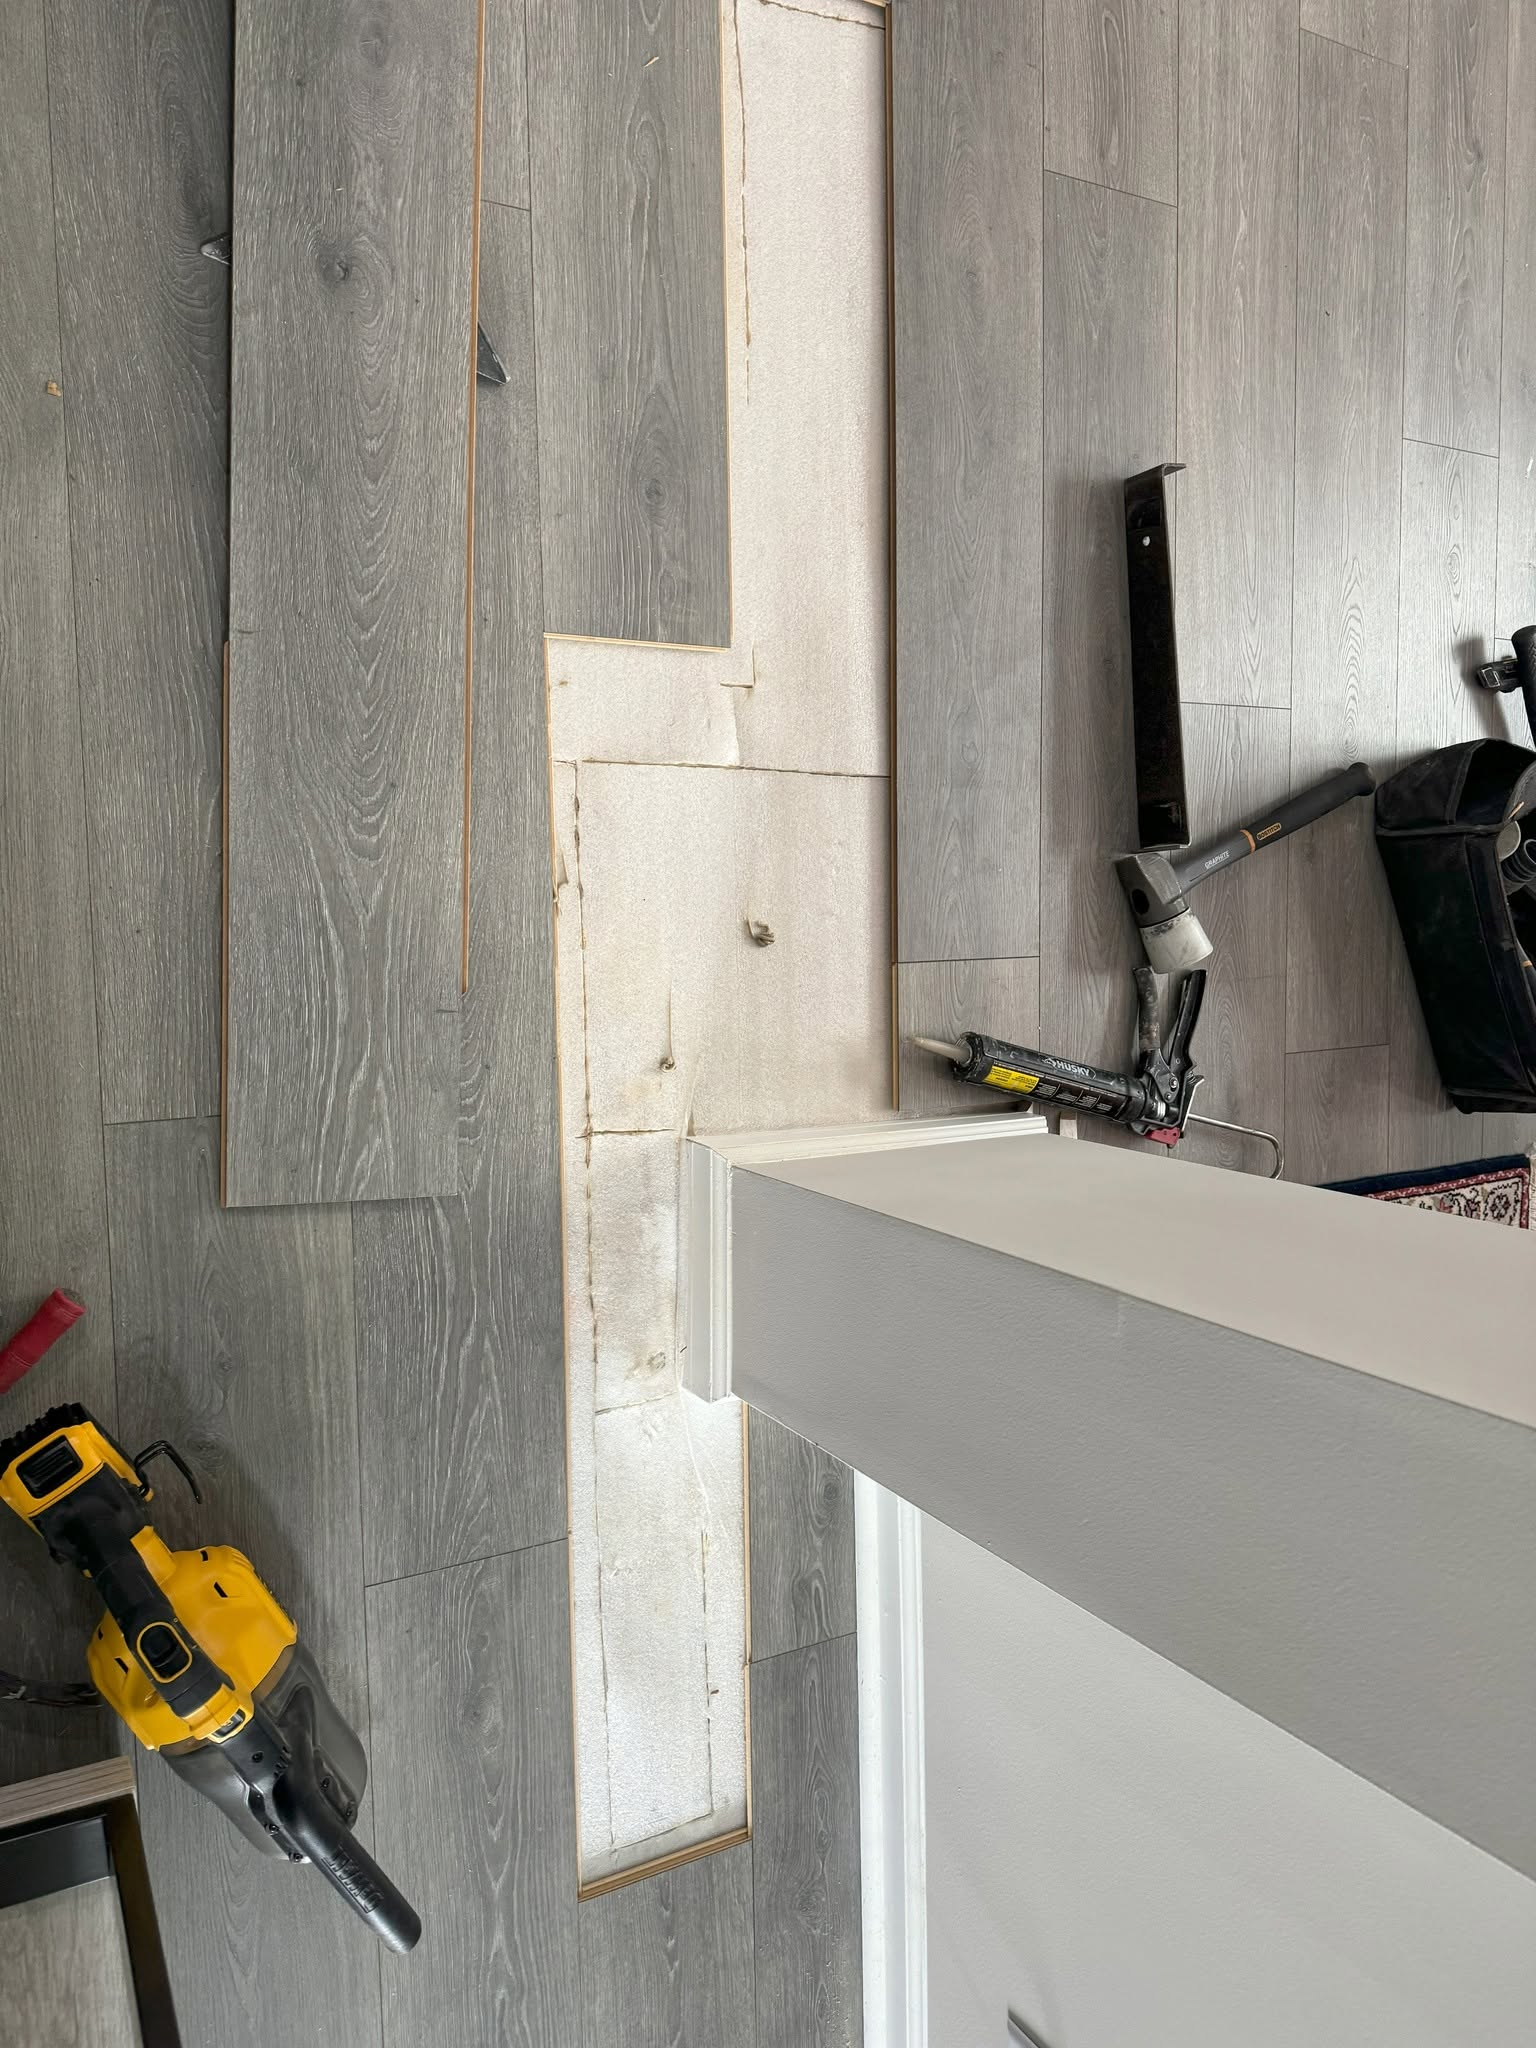
Laminate flooring repair area opened with tools nearby.
Repair area opened1 / 2

A column sat at the center of this laminate repair, giving us a fixed feature to work around. We took out planks in the repair area, installed replacements and completed the trim around the column. The finished gray floor closes the opened section and meets the column with its trim in place. The repair brings that small area back into the surrounding room.

Read the full story →
Installation

Kitchen Backsplash Replacement in Hilton Head Plantation

Hilton Head Island, SC — Hilton Head Plantation

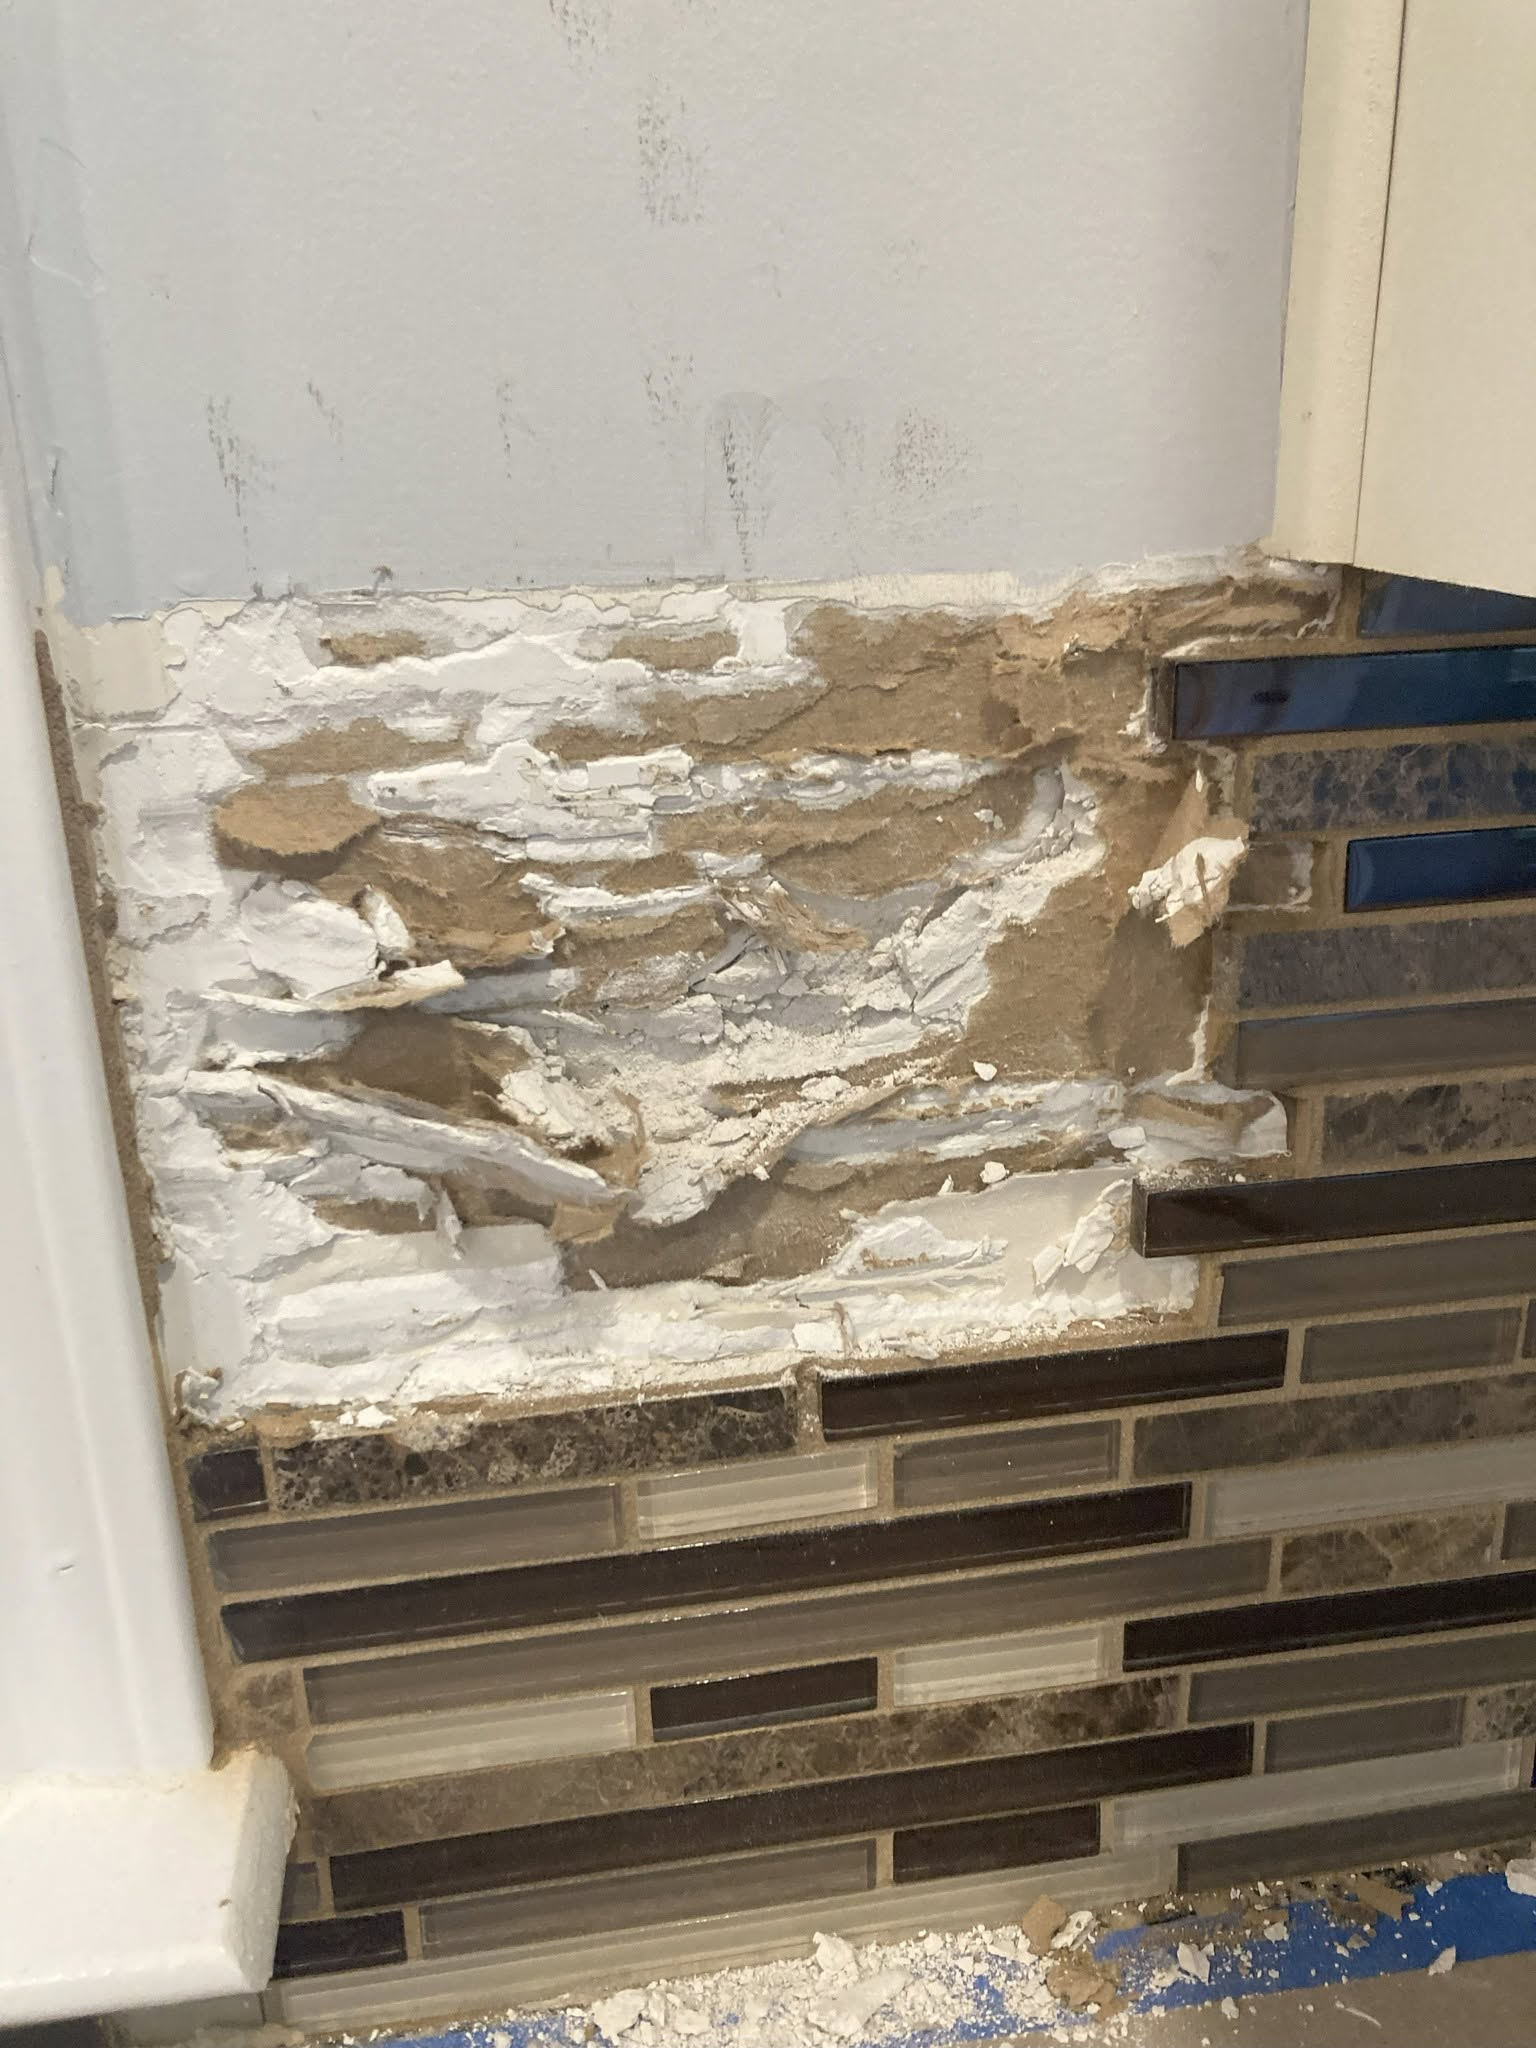
Old kitchen backsplash mosaic being removed from the wall.
Old backsplash removal1 / 6

The old mosaic was coming off, and the kitchen was ready for a different backdrop. We replaced the backsplash along the range and microwave, then carried the new tile around the corner toward the window and above the dishwasher. Those turns and edges give a tile job its shape. We brought the separate sections together around the kitchen's existing features, leaving a finished backsplash that carries the new look across the room.

Repair

Two Laminate Floor Repairs in Sun City

Bluffton, SC — Sun City

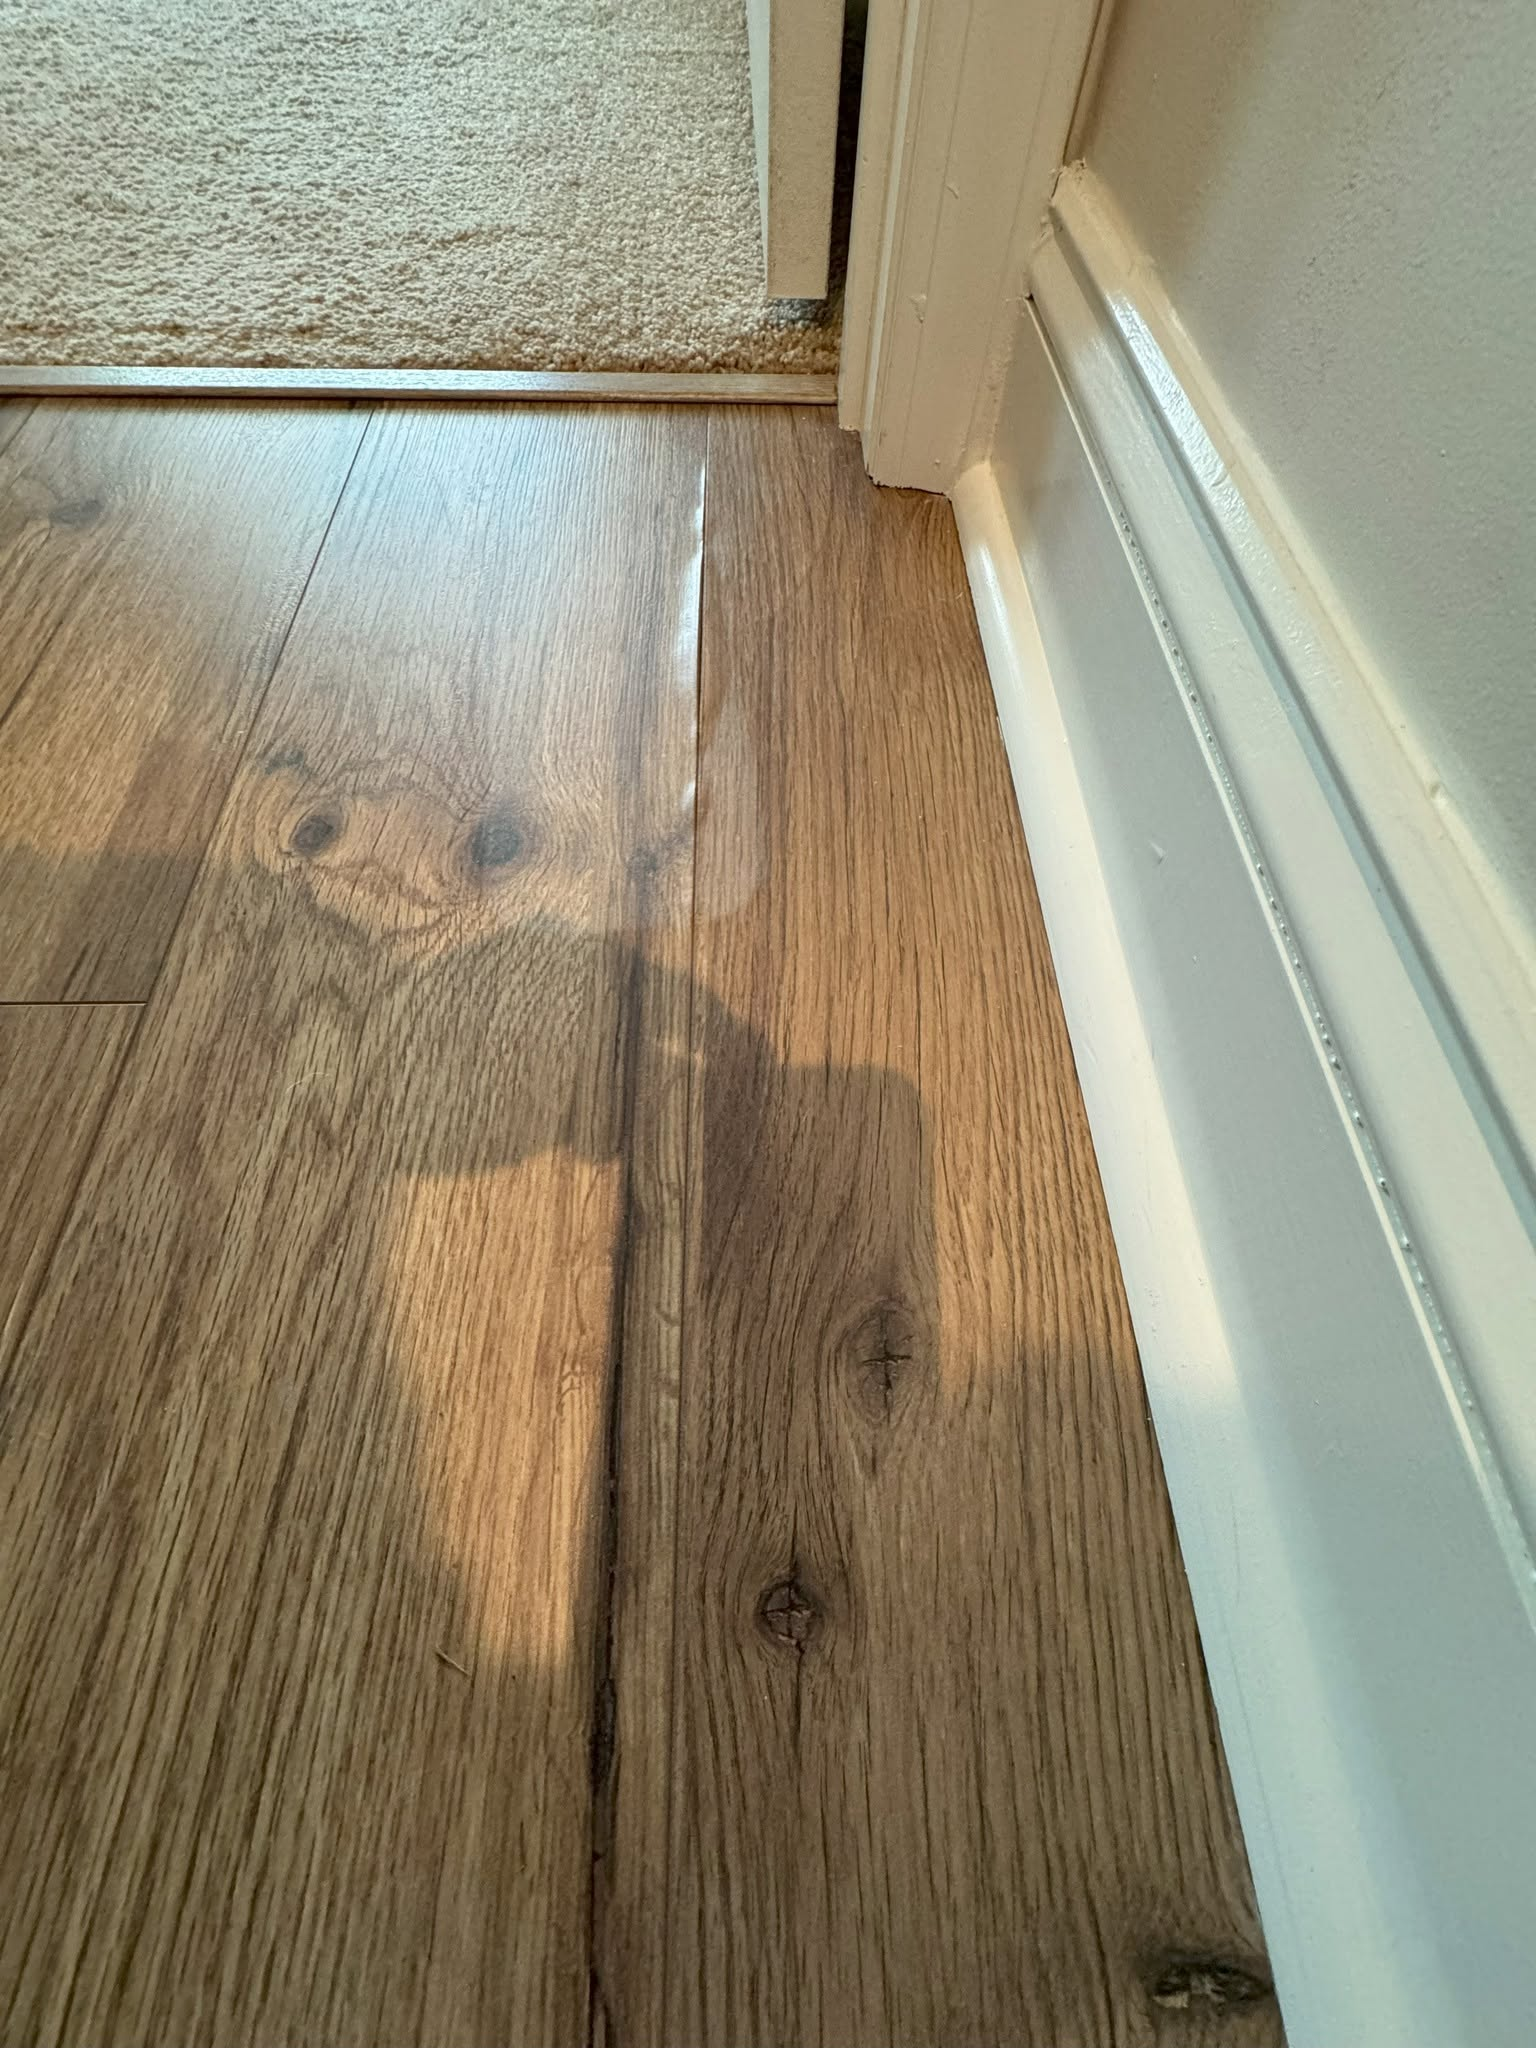
Laminate flooring at a doorway before repair.
Doorway repair: before1 / 4

Two spots in this home needed a closer look: an uneven seam at a doorway and a separate section of laminate. We handled them as two individual repairs within the existing floor. At the entrance, we addressed the seam and transition. In the second area, we took out planks and fitted replacements into the surrounding flooring. We kept the work focused on those areas, repairing the floor the homeowner already had.

Repair

Carpet Restretch in Sun City

Bluffton, SC — Sun City

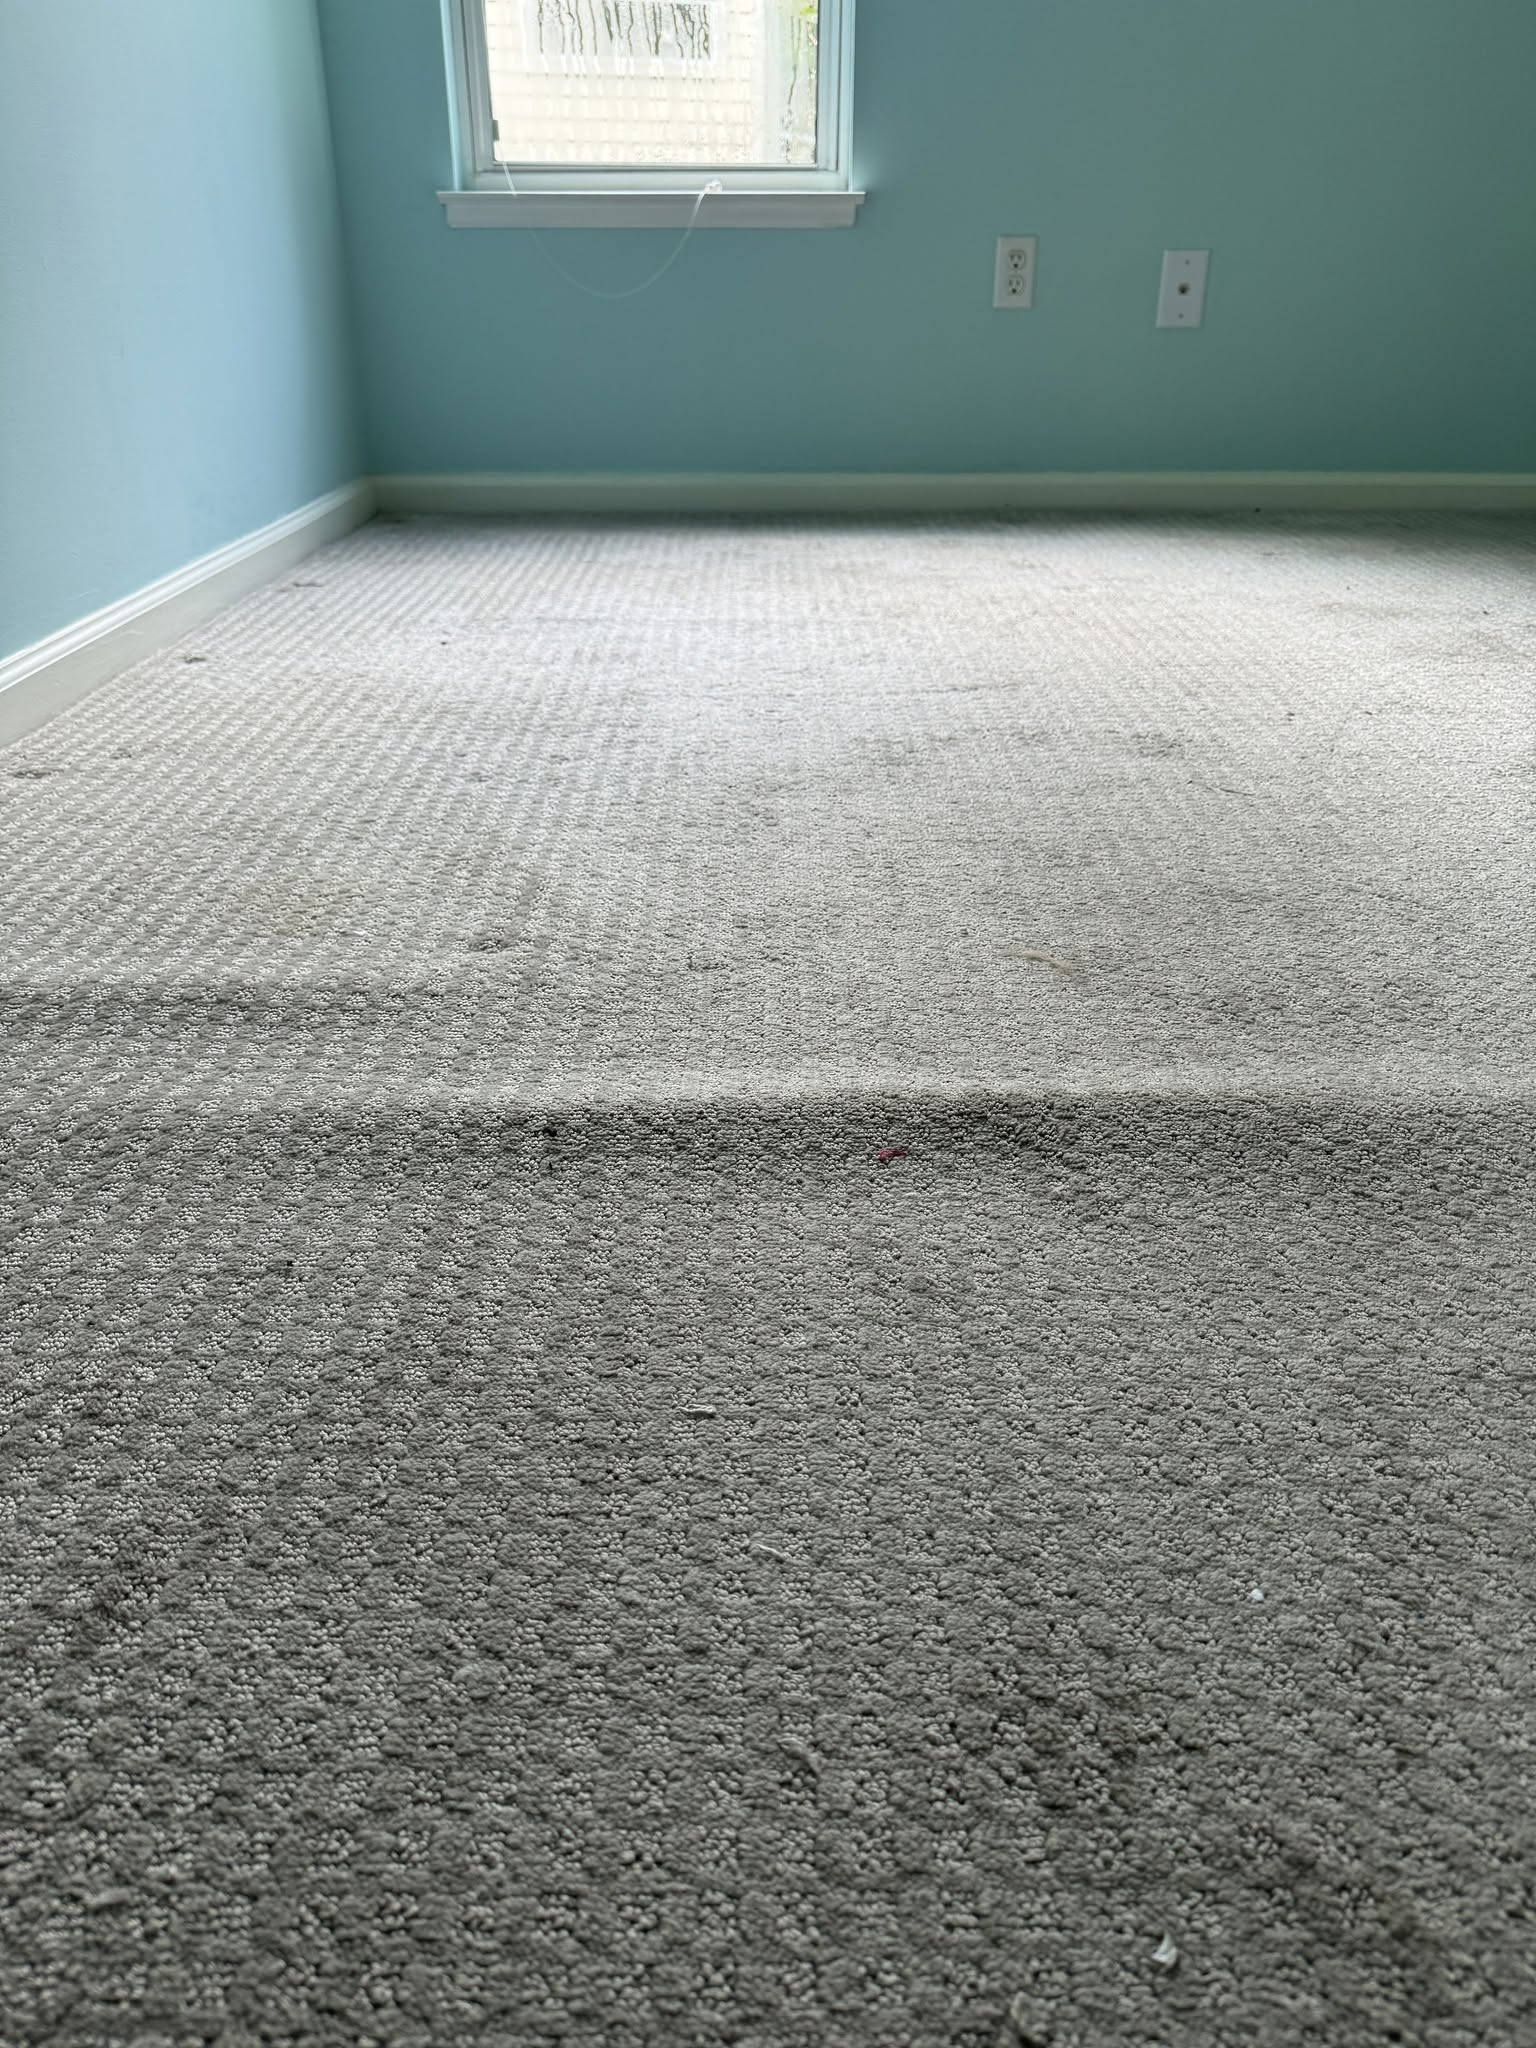
Carpet with visible ripples across the surface before restretching.
Before: visible ripples across the carpet1 / 2

Ripples had gathered across this carpet, leaving an uneven surface through the room. We restretched the carpet, worked out the excess and trimmed it back to fit. The difference came from working with what was already there. Once stretched, the carpet lay smoother across the room, keeping the existing floor covering in use and giving it a better fit.

Carpet

Carpet Staircase Installation in University Park

Hardeeville, SC — University Park

Finished carpet on the landing and lower steps.
Finished landing and lower steps1 / 5

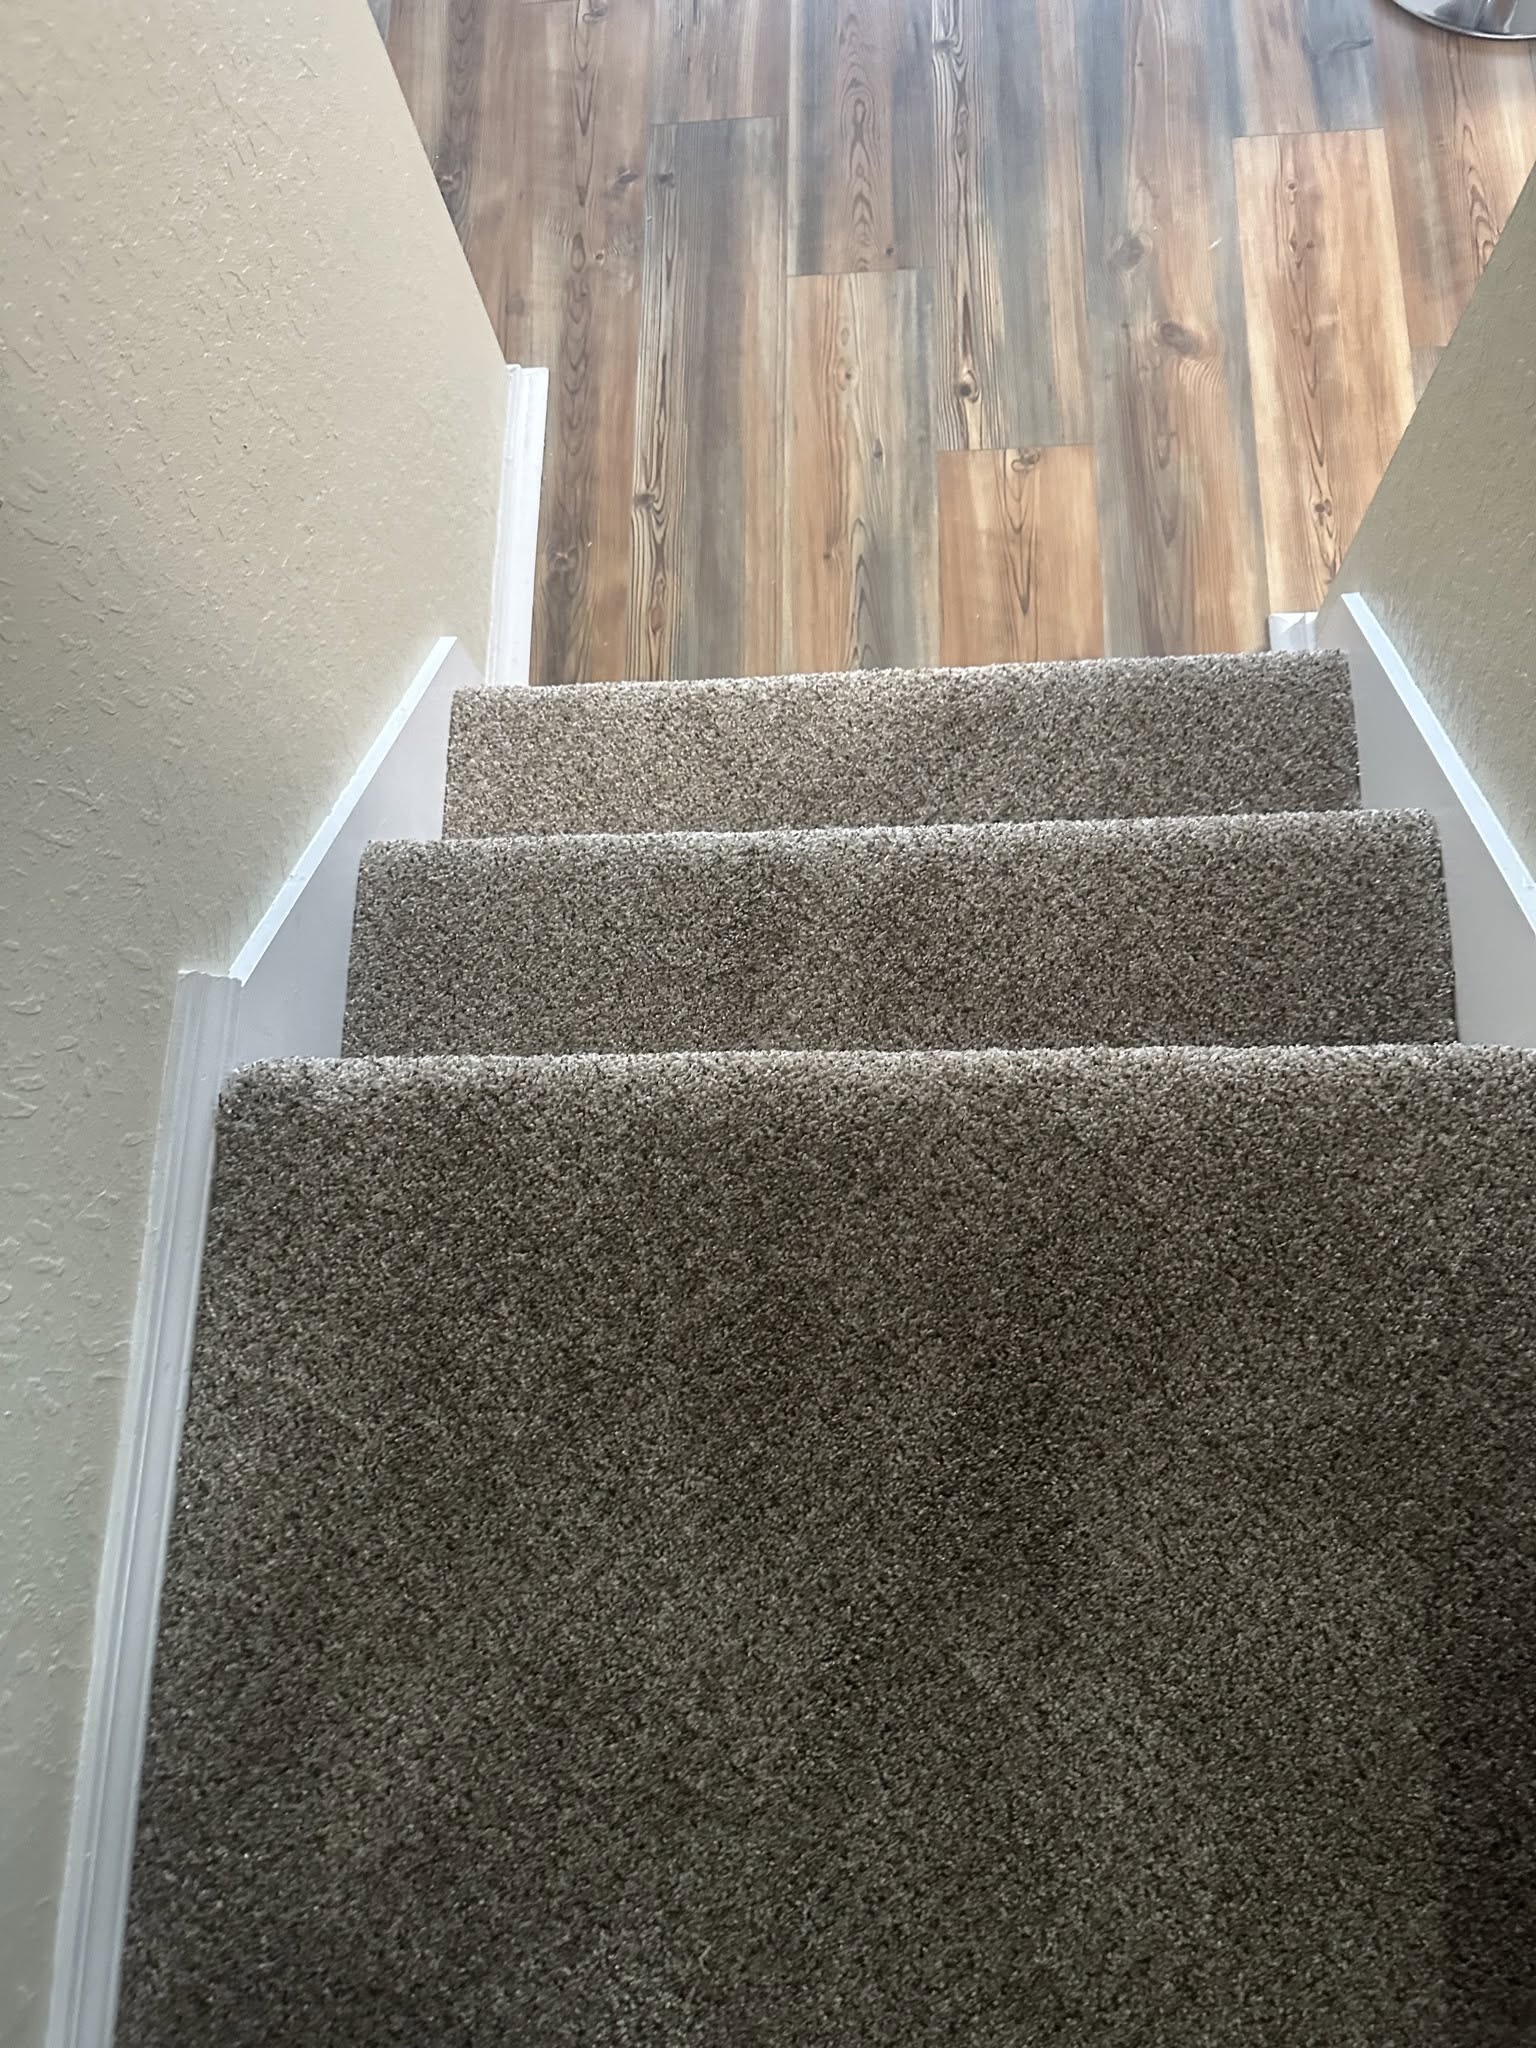
Padding was already down on this staircase when we arrived. The carpet installation still needed to be finished, from the lower steps through the landing and up the stairs. We picked up the job at that point and fitted the carpet across the staircase, working through the steps and the turn at the landing. The exposed padding gave way to a completed carpeted staircase, with the separate sections brought together from bottom to top.

Carpet

Three-Room Carpet Restretch in Palmetto Bluff

Bluffton, SC — Palmetto Bluff

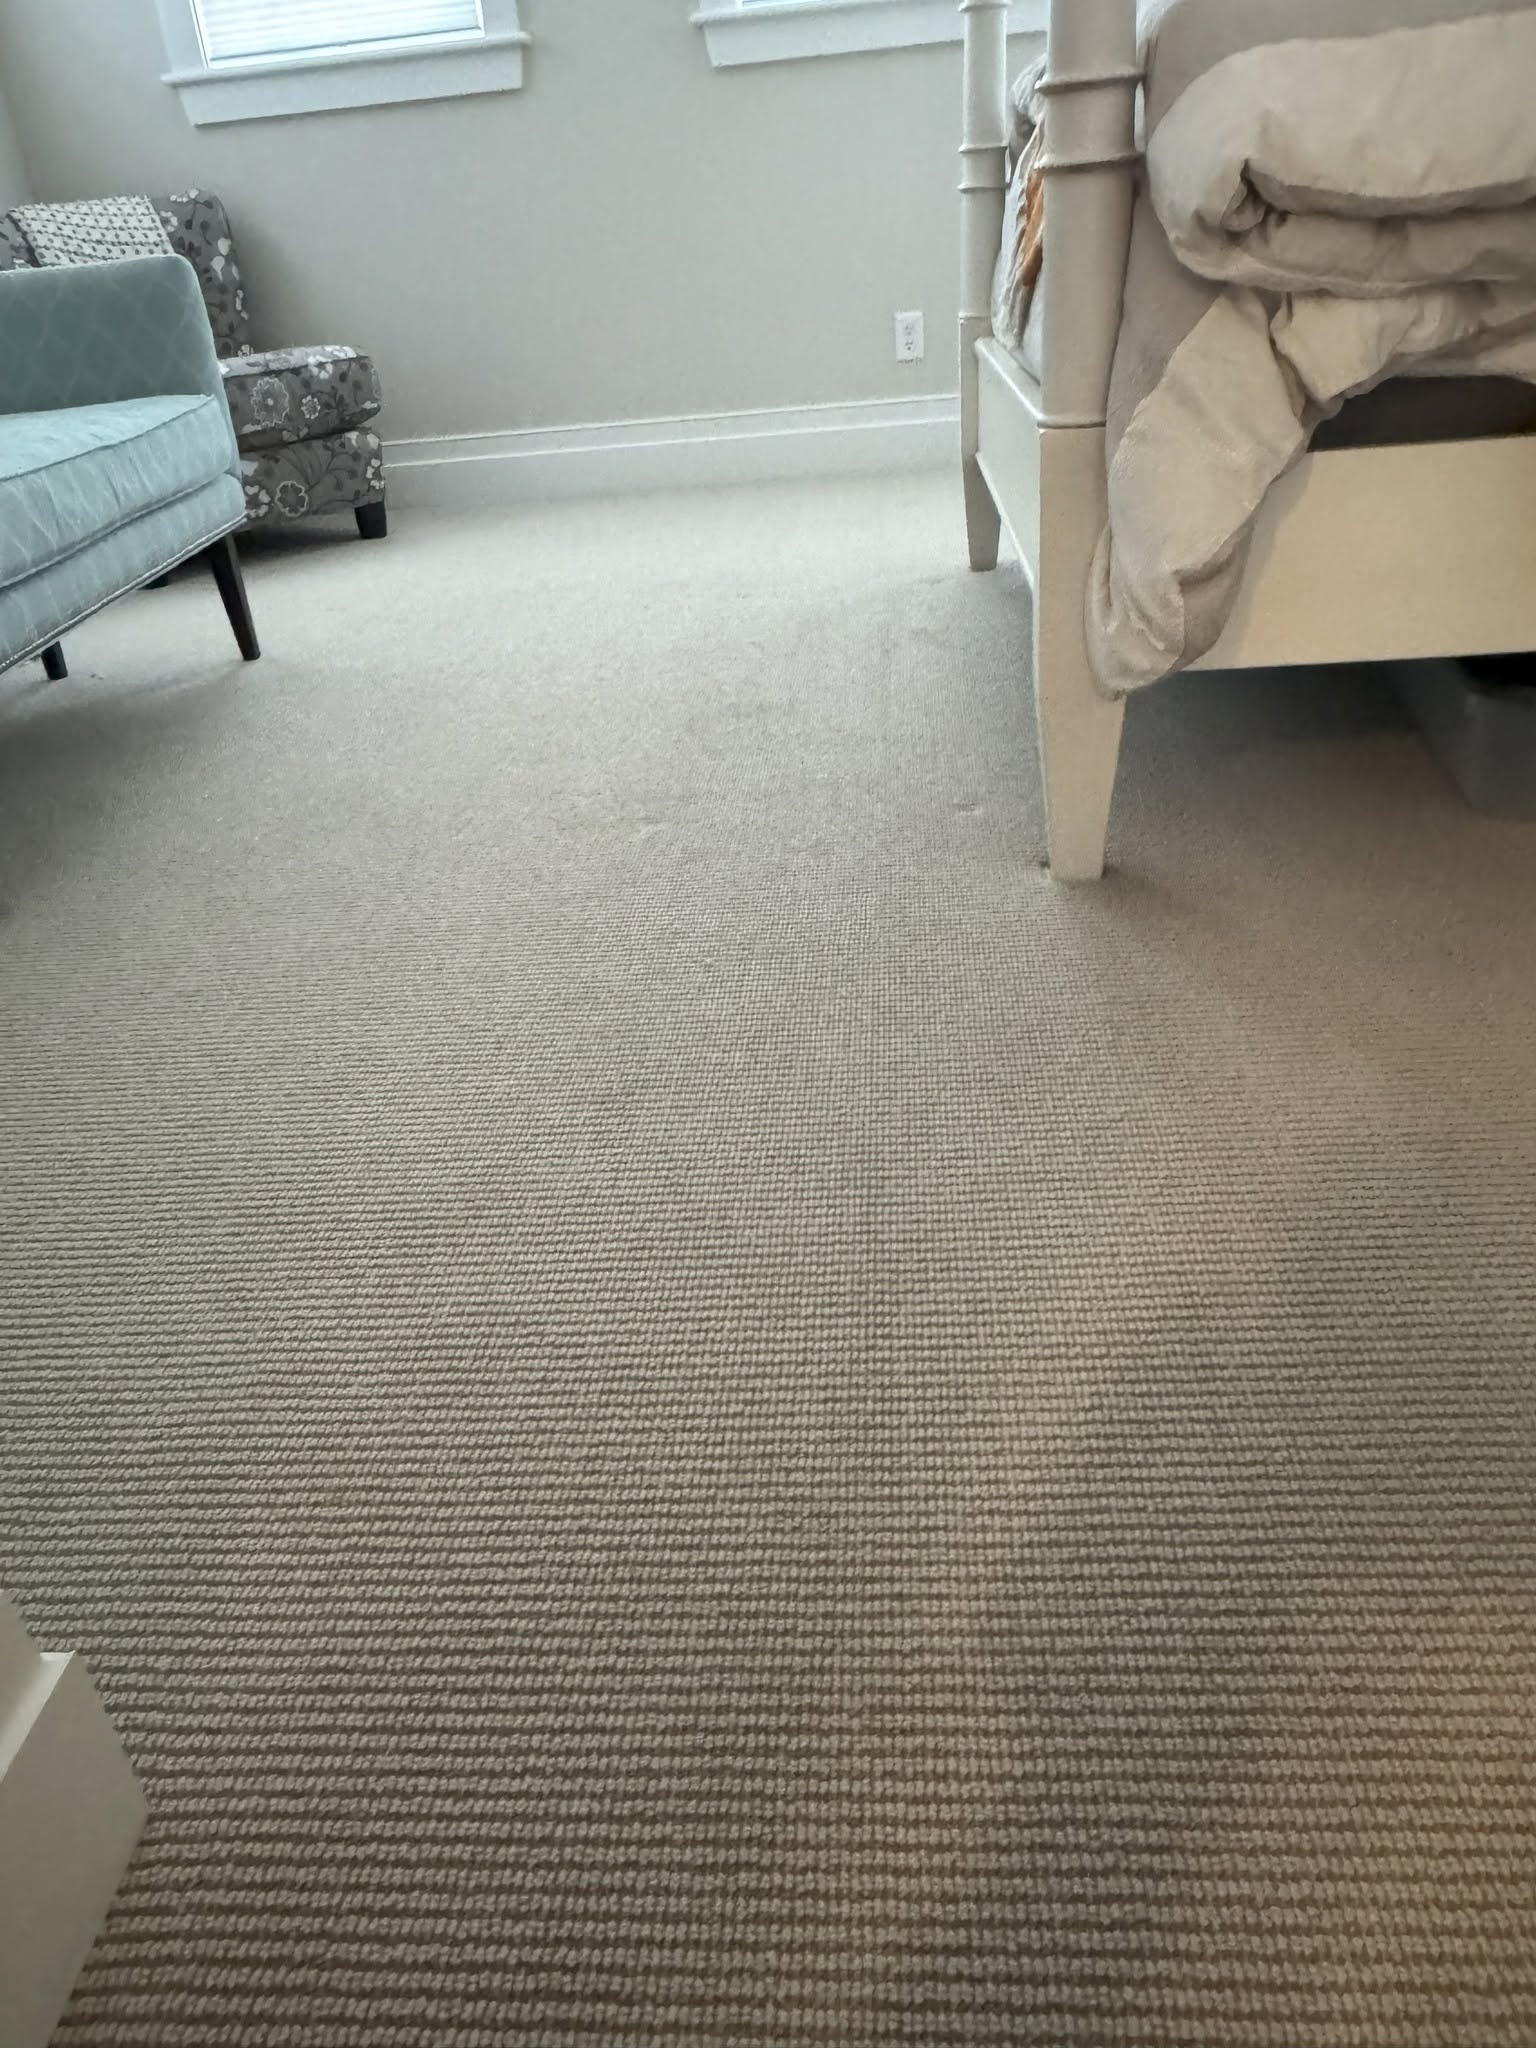
Room 1 after restretching showing a smooth carpet surface next to the bed.
Room 1: after restretching1 / 5

Three rooms in this Palmetto Bluff home needed the existing carpet brought back into shape. Ripples had formed, and we worked room by room to restretch the carpet and improve its fit. As we completed each room, the surface settled into a smoother finish. The homeowner kept the carpet already in place, with a visible improvement made through focused repair work.

Read the full story →
LVP

LVP Room and Stair Installation in Camellia Banks

Beaufort, SC — Lady's Island · Camellia Banks

Carpeted room before flooring replacement.
Before: the carpeted room1 / 8

The detail that mattered most on this installation was right at the doorway. A carpeted room met an existing LVP floor, and a T molding had been proposed across the entrance when the new flooring went in. For this project, we were able to make that connection without the added molding. We removed the carpet, installed LVP in the room and tied it into the floor outside the doorway. The staircase was part of the same project. We began with exposed wooden stairs and installed LVP treads and stair nosings across the staircase. The wood-look surface sits against contrasting white risers, giving each step a clear outline. The finished installation brings a consistent flooring detail from the bottom of the stairs to the top, with the tread and nosing work visible from both directions. Now the eye can follow the flooring through the entrance without a separate strip interrupting the view. That small stretch of floor helped the whole room feel connected to the space beyond it. Getting the tie in right was part of the installation we came to deliver.

Read the full story →
LVP

LVP Installation Before Move-In in Pine Ridge

Bluffton, SC — Pine Ridge

Subfloor leveling compound poured and spread across uneven concrete substrate.
Floor leveling in progress1 / 14

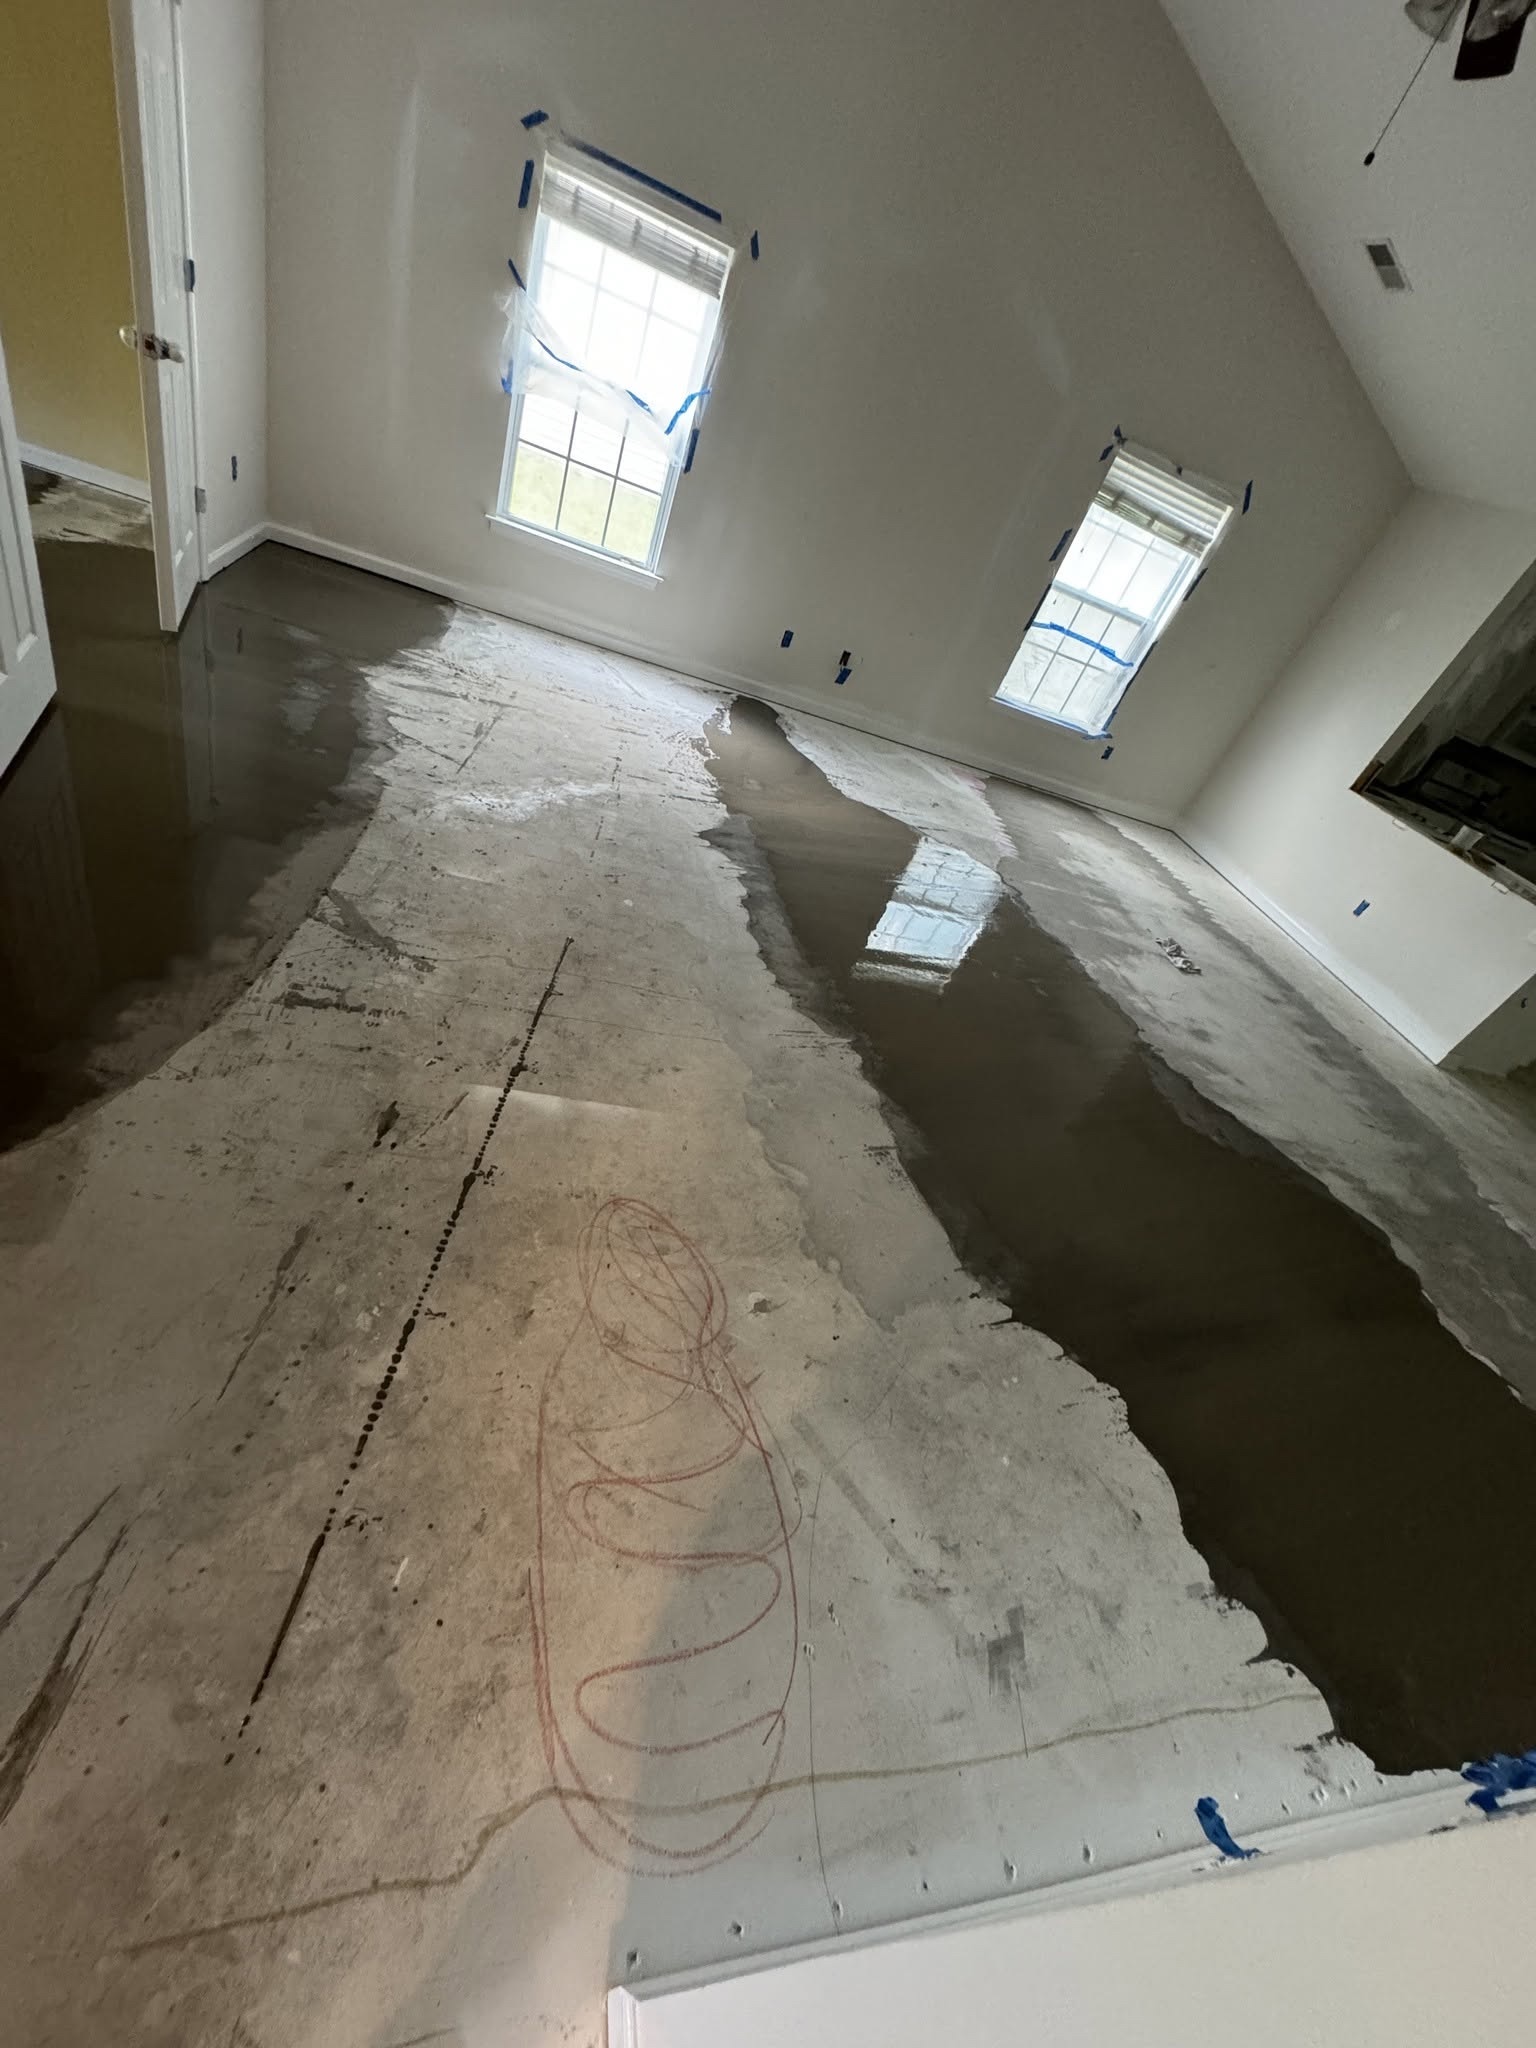
Our clients had a long drive ahead of them and a furniture delivery to plan around. They were coming from out of town to move into their home, so having the flooring ready mattered to everything that came next. First, we had extensive grinding and leveling to do across the main room, closet, hall and adjoining rooms. That preparation took a substantial amount of work before the new LVP could go down. We worked through it, then stayed overnight to complete the installation in time for the move and delivery. As daylight gave way to night, we continued the installation through the rooms and the spaces connecting them. We finished around 2 a.m., with the flooring installation complete for the clients' move. The finished floor carries through the main room and kitchen. Much of the effort is underneath, where the grinding and leveling can no longer be seen. We made time for that work and stayed to finish the flooring our clients were counting on for their arrival.

Read the full story →
Tile

Travertine Floor Integration in Rose Hill

Bluffton, SC — Rose Hill

Area 1: carpet beside the existing travertine
Area 1: carpet beside the existing travertine1 / 8

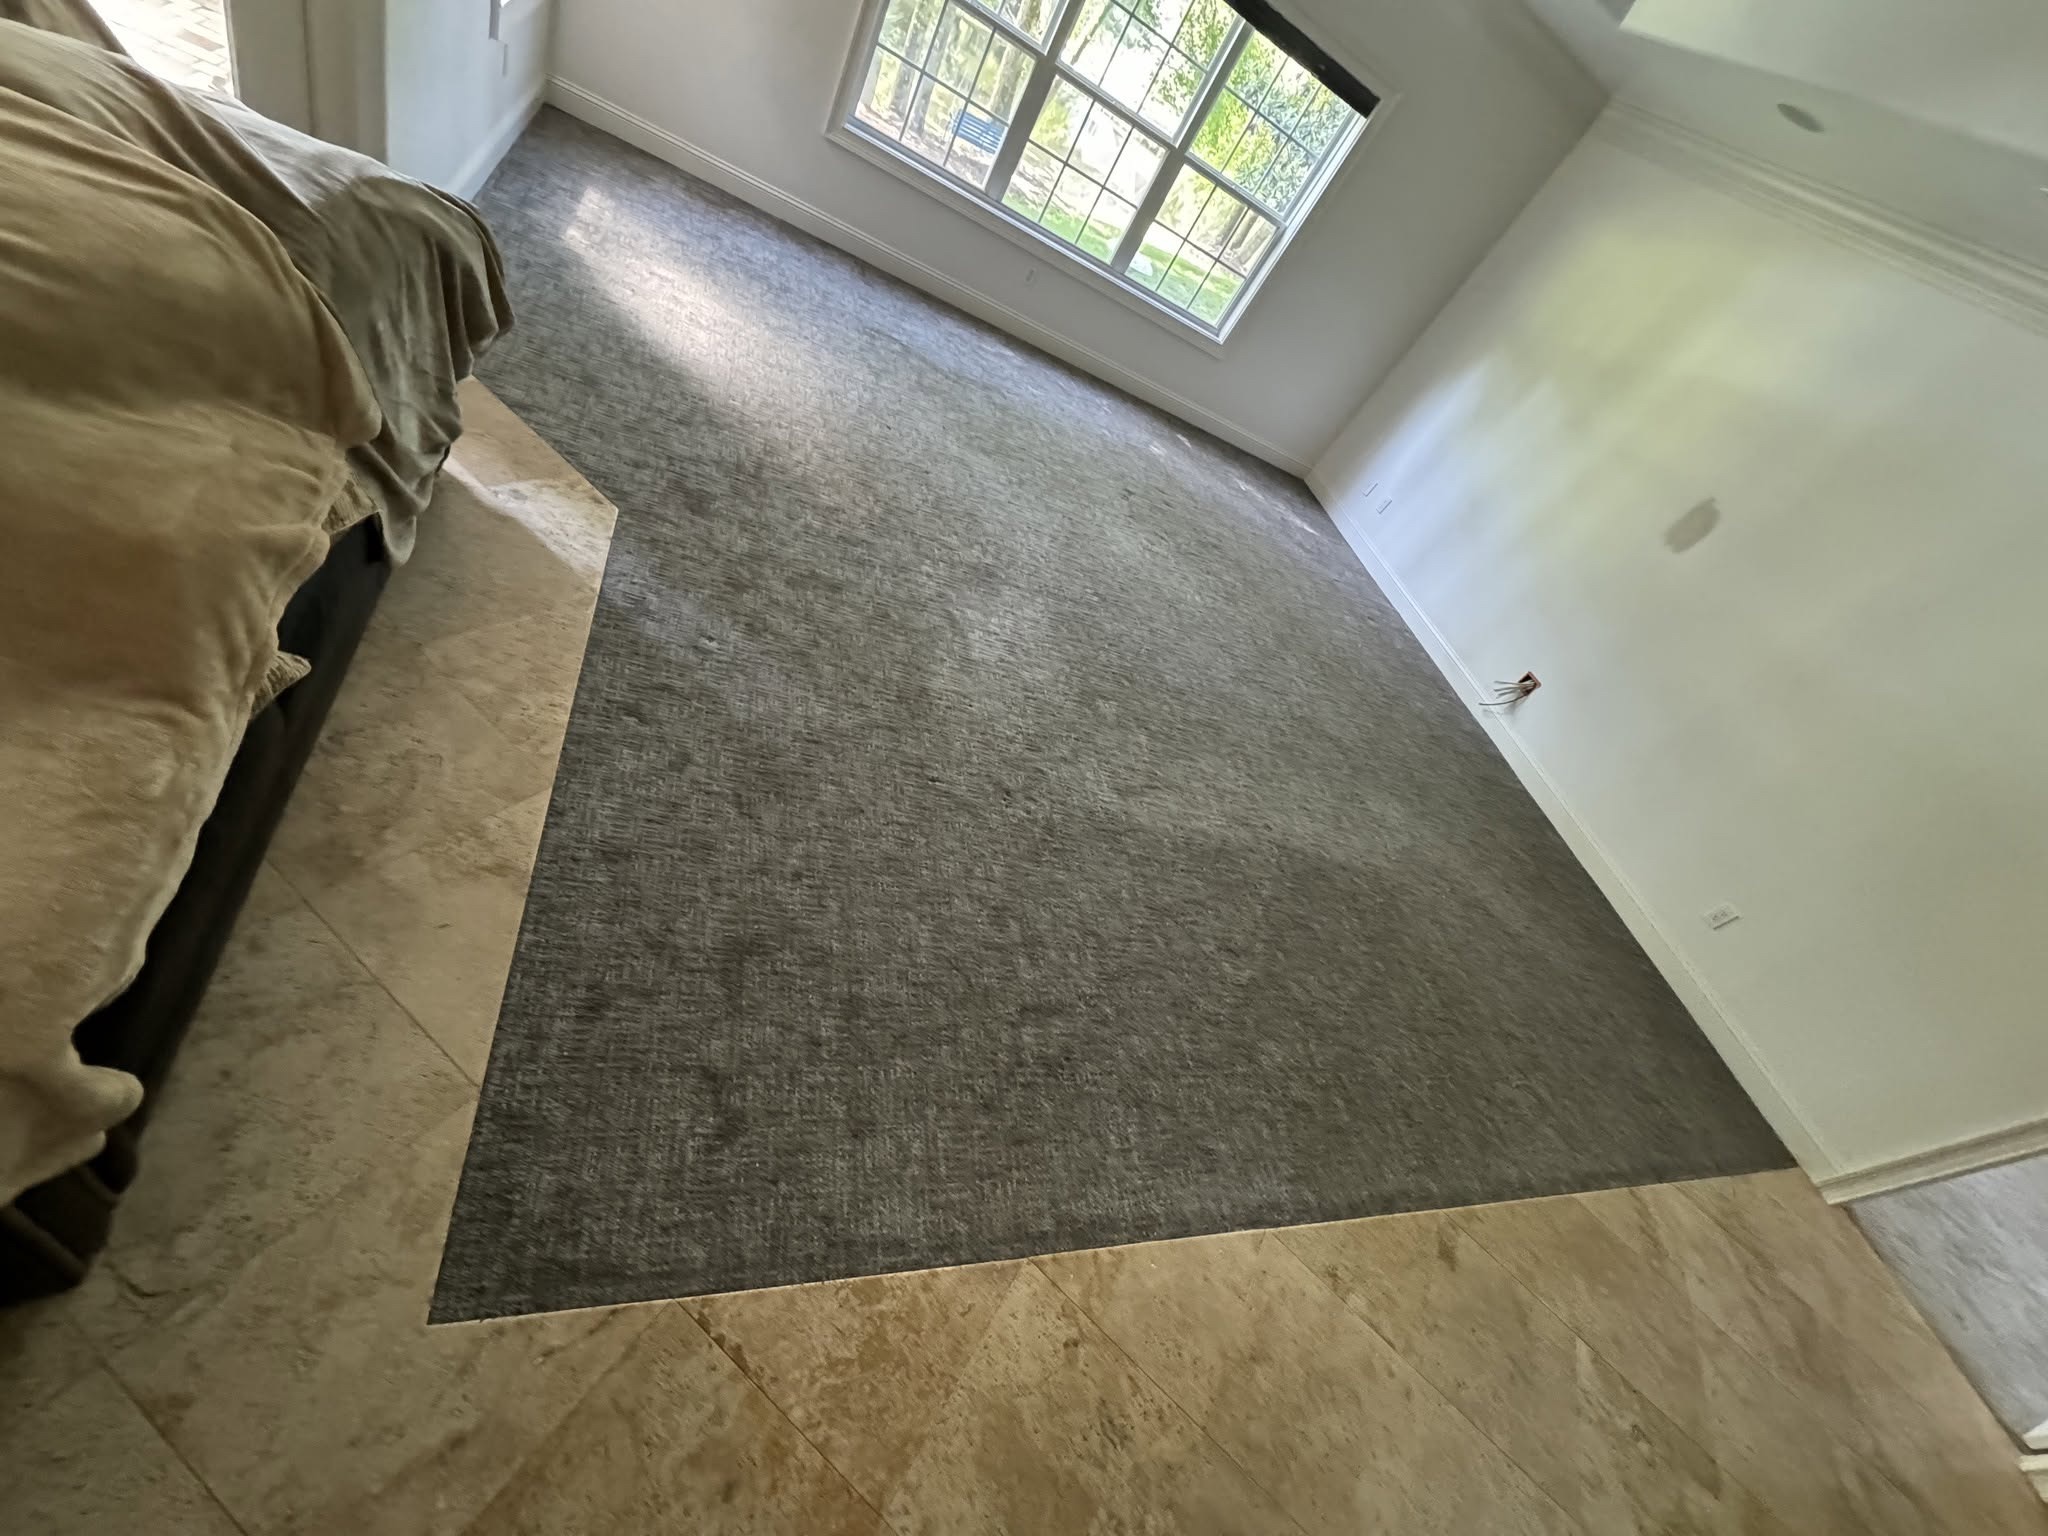
The existing travertine already gave this home much of its character. Our client, who was out of town, wanted to keep that warm Arizona hacienda feel while replacing the areas that still had carpet. The original stone had wear of its own. Bringing new travertine alongside it meant paying attention to how the two would look together, including the diagonal pattern running through the home. We removed the carpet and continued that layout into the newly tiled areas, working to blend the new installation with the existing stone. The warm tones now carry further through the rooms, with the diagonal pattern drawing them together. The home keeps its familiar character, and the new tile extends the look the client wanted to preserve.

Read the full story →
LVP

Floor Prep and LVP Installation in Sun City

Bluffton, SC — Sun City

Wood-floor removal in progress
Wood-floor removal in progress1 / 5

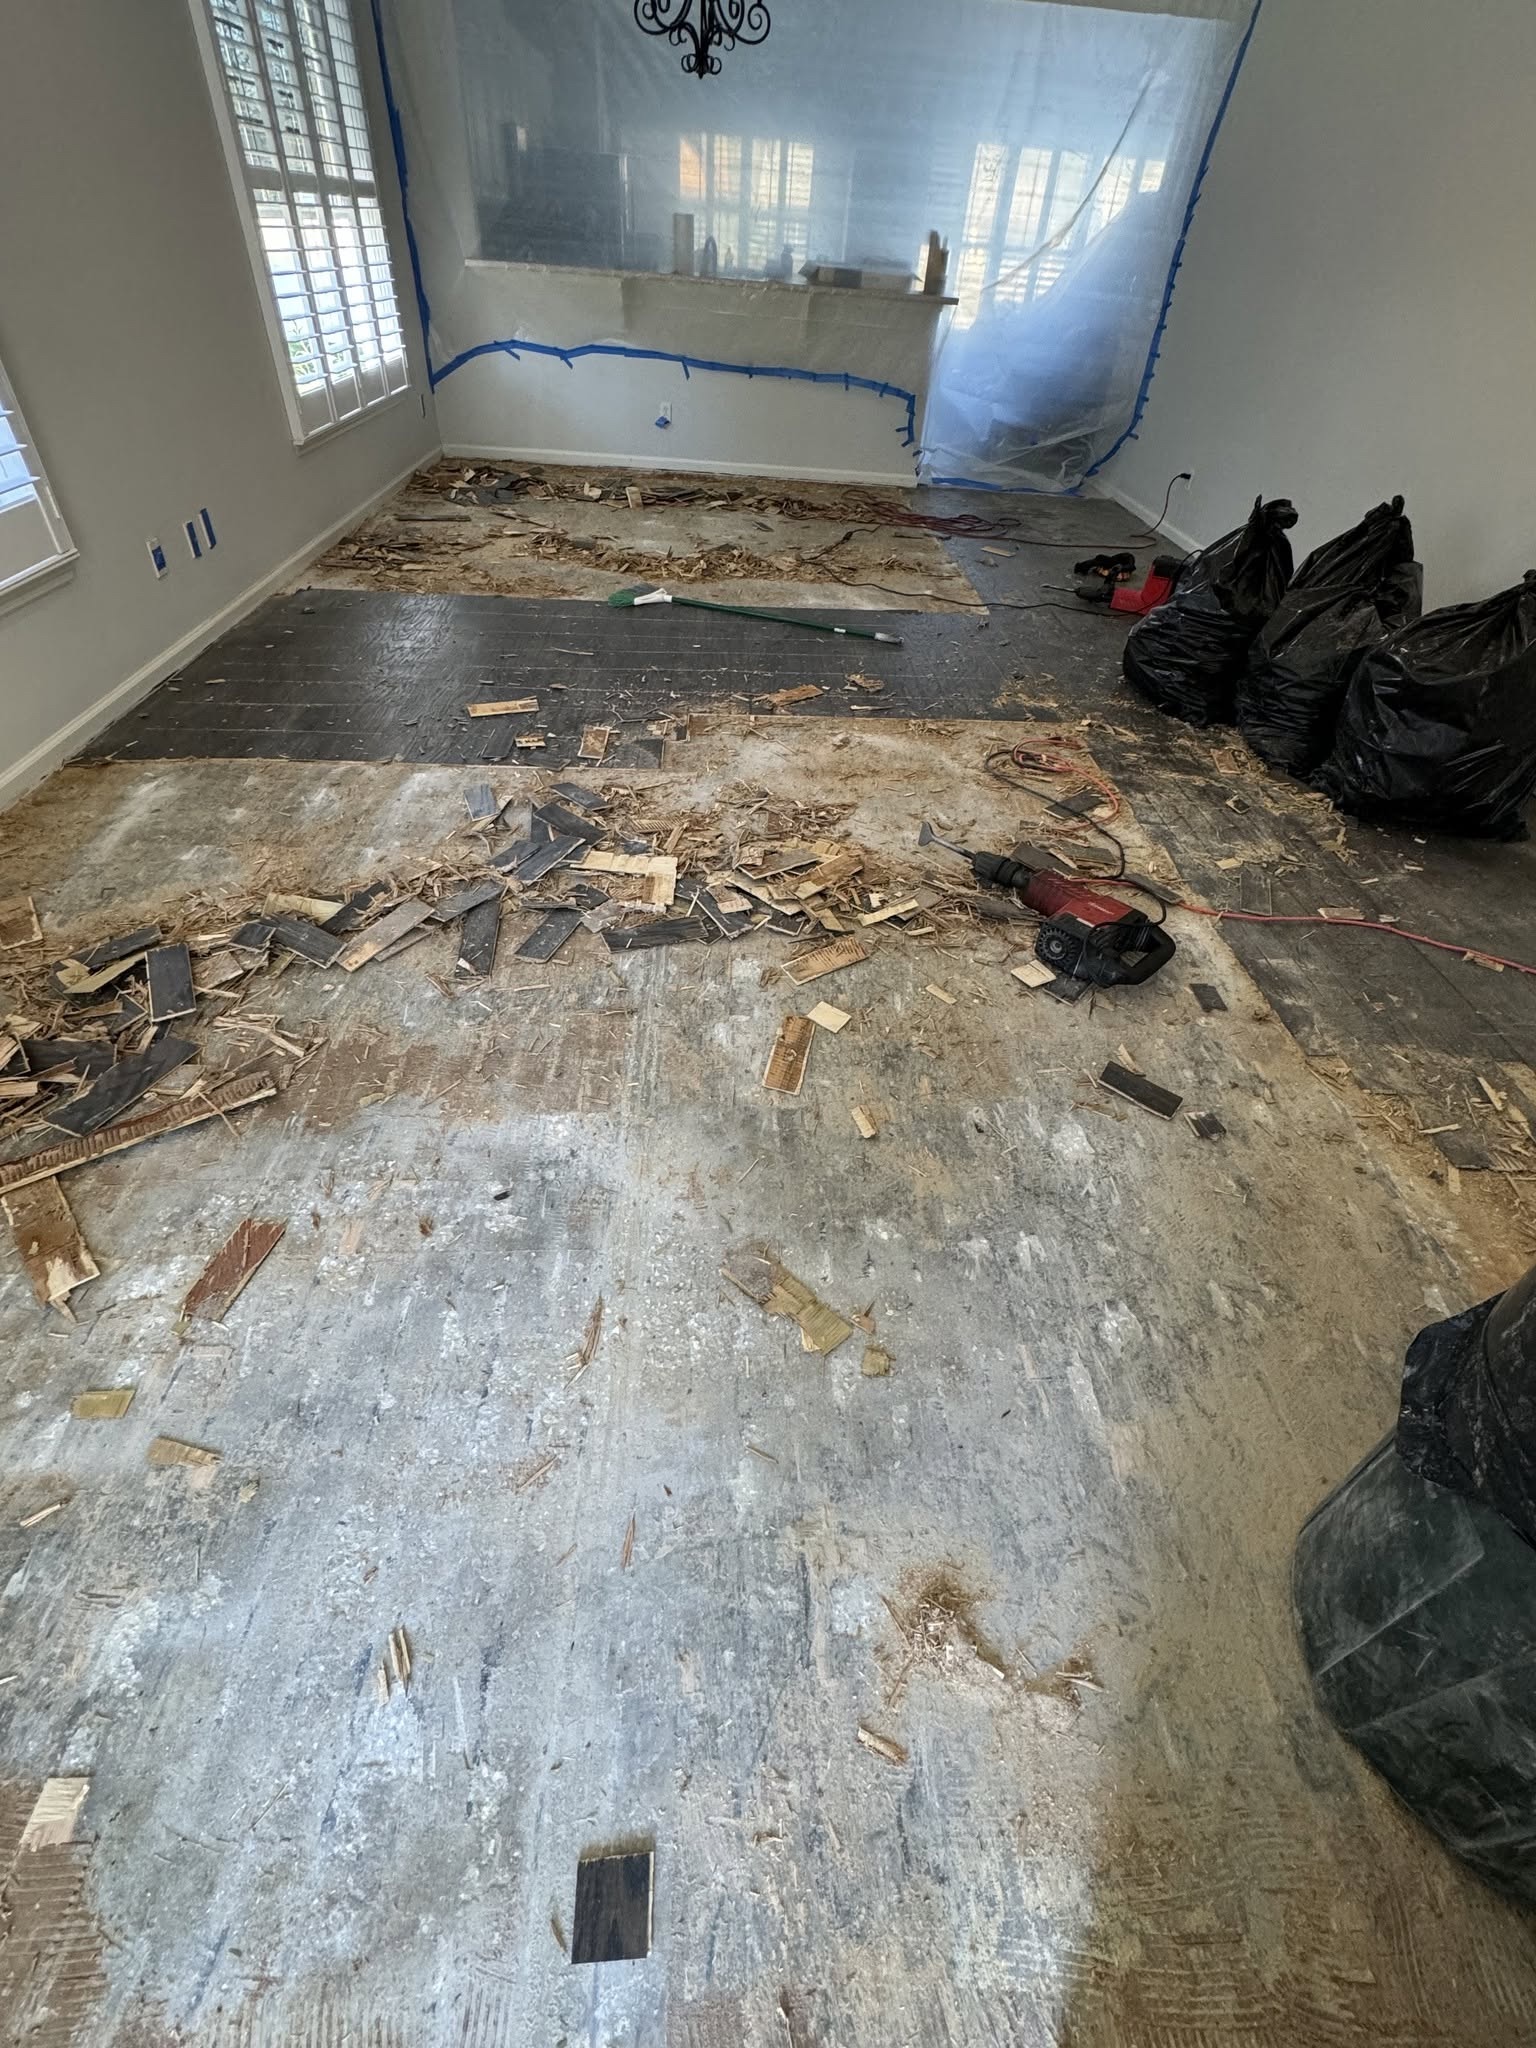
The homeowner had already spent a week taking up the old wood floor when they called us in to help. Our first job was to finish the removal and prepare the subfloor for new LVP. Later, we offered to come by at no charge and share some installation guidance. That visit became a chance to work alongside the homeowner. We helped lay half of the living room. The homeowner could see the installation taking shape and see how we worked. After that, they asked us to finish the rest. We carried the LVP through the remaining area, taking the project from exposed subfloor to installed flooring. The extra work grew out of a helping hand. The homeowner had seen our approach firsthand before choosing us to take the installation further.

LVP

Engineered Wood to LVP Replacement in Sun City

Bluffton, SC — Sun City

Before: engineered wood flooring toward the kitchen
Before: engineered wood flooring toward the kitchen1 / 8

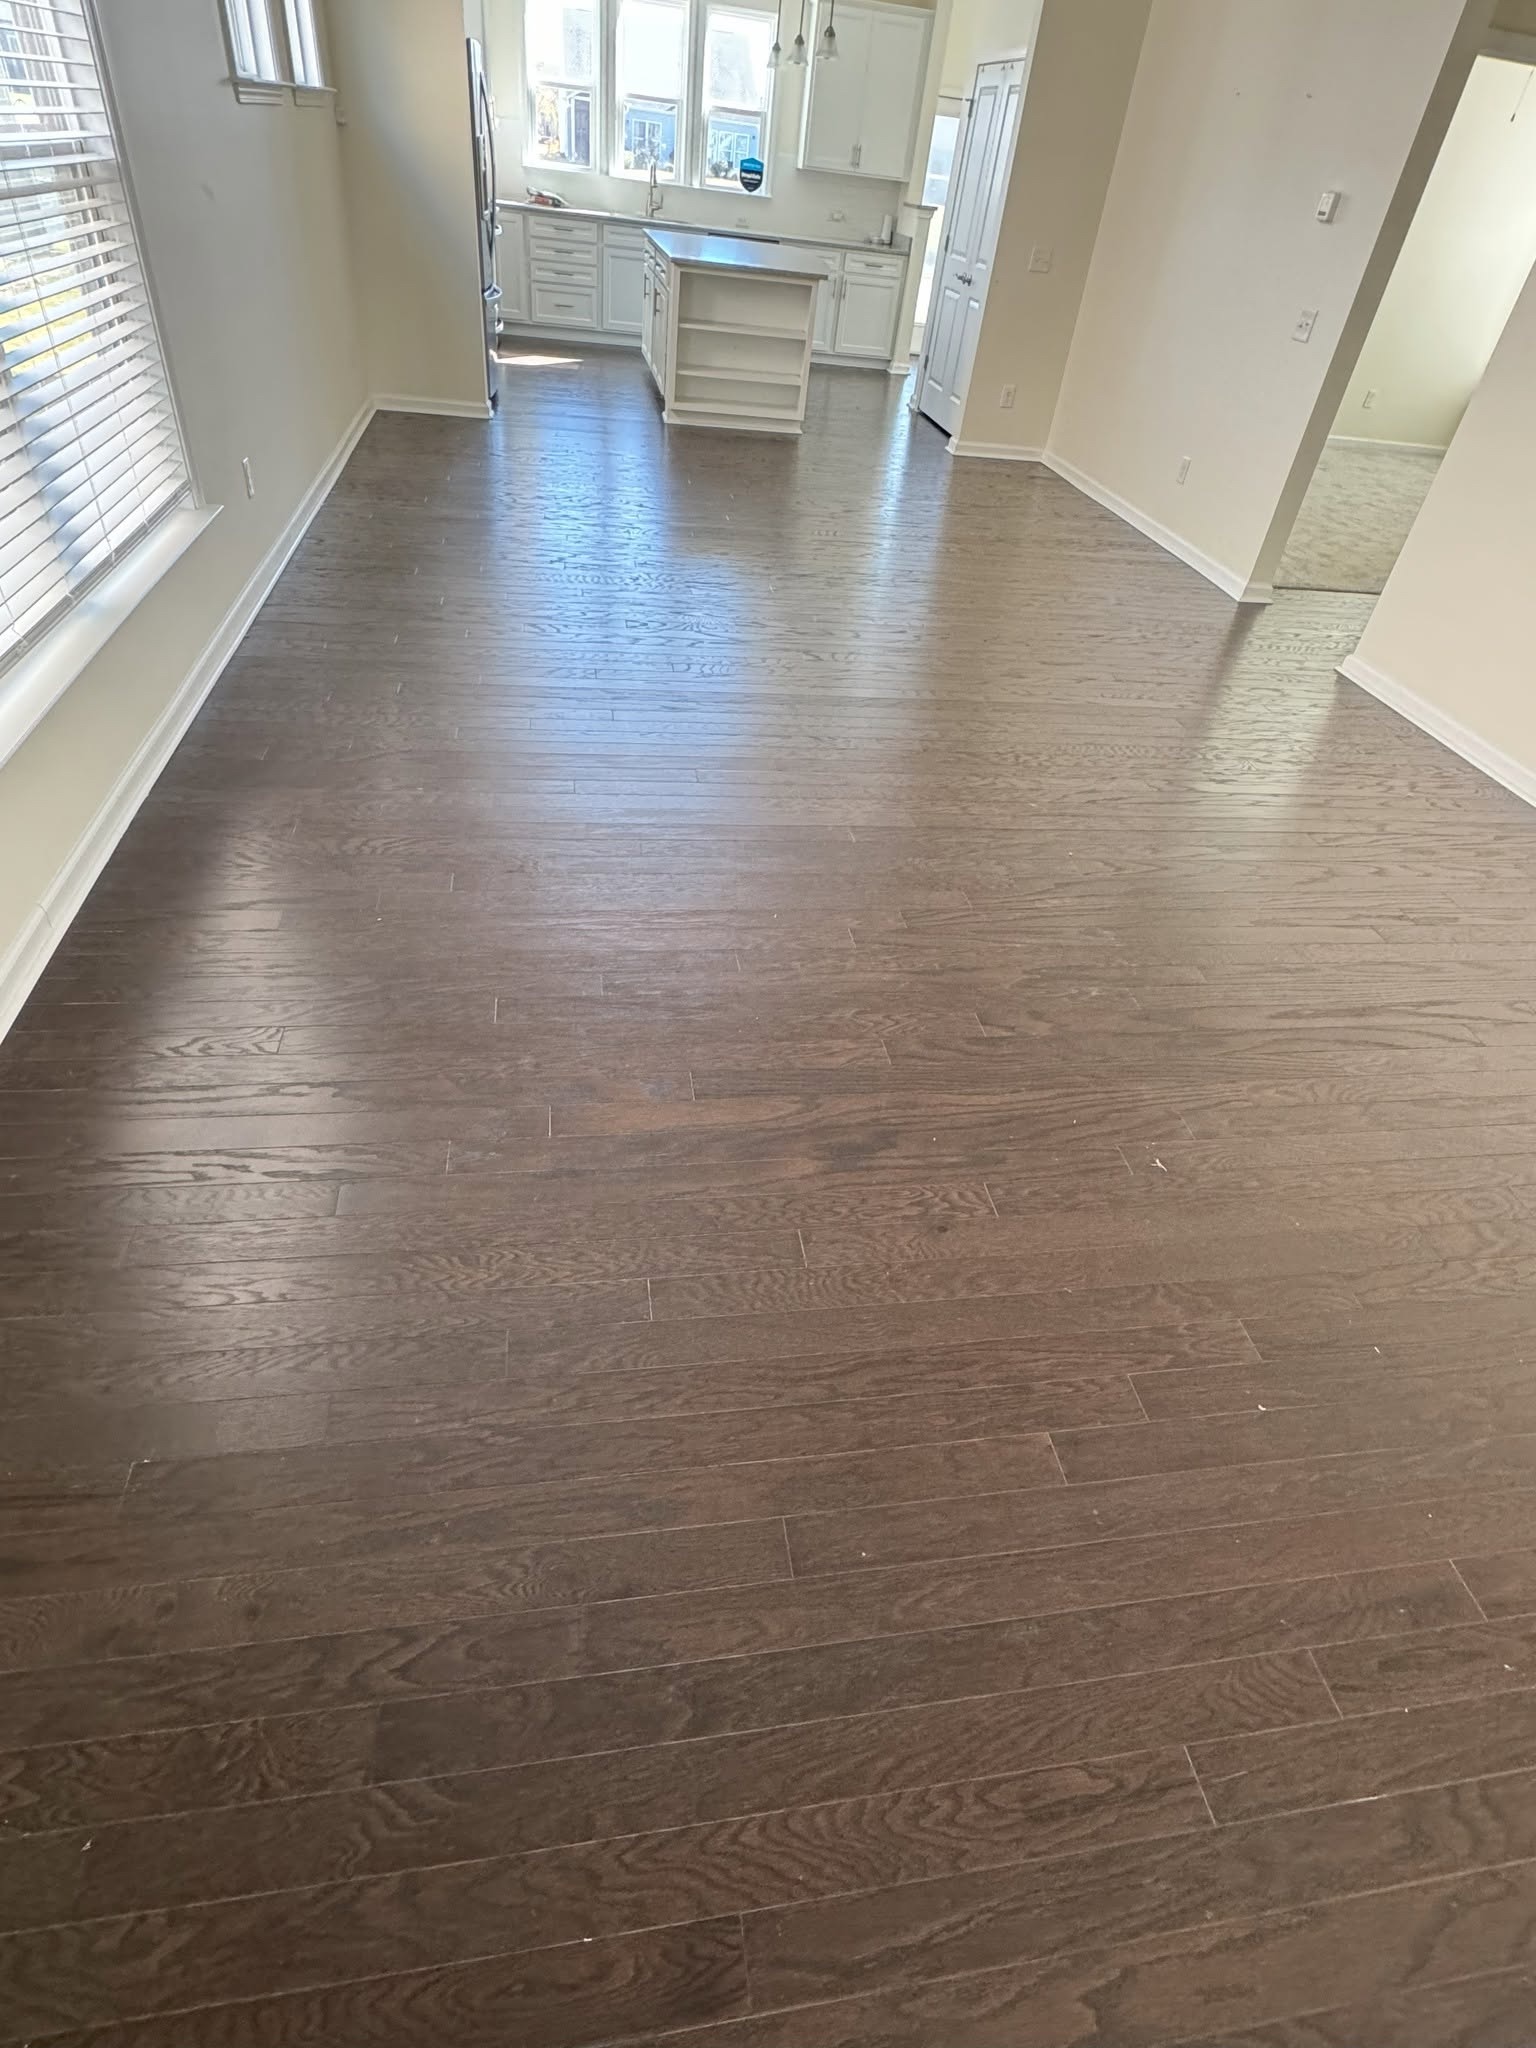
A lighter plank changed the look of these connected rooms. We took out the existing engineered wood and installed wider LVP planks, carrying the new floor through the spaces toward the kitchen, entry and adjoining room. The familiar layout remains, with a lighter tone underfoot and a broader plank pattern running through it. The same flooring draws the rooms together, making the change felt across the home as you move from one space to the next.

Carpet

Two-Room Carpet Replacement in Sun City

Bluffton, SC — Sun City

Room 1 carpet before replacement.
Room 1: before carpet replacement1 / 7

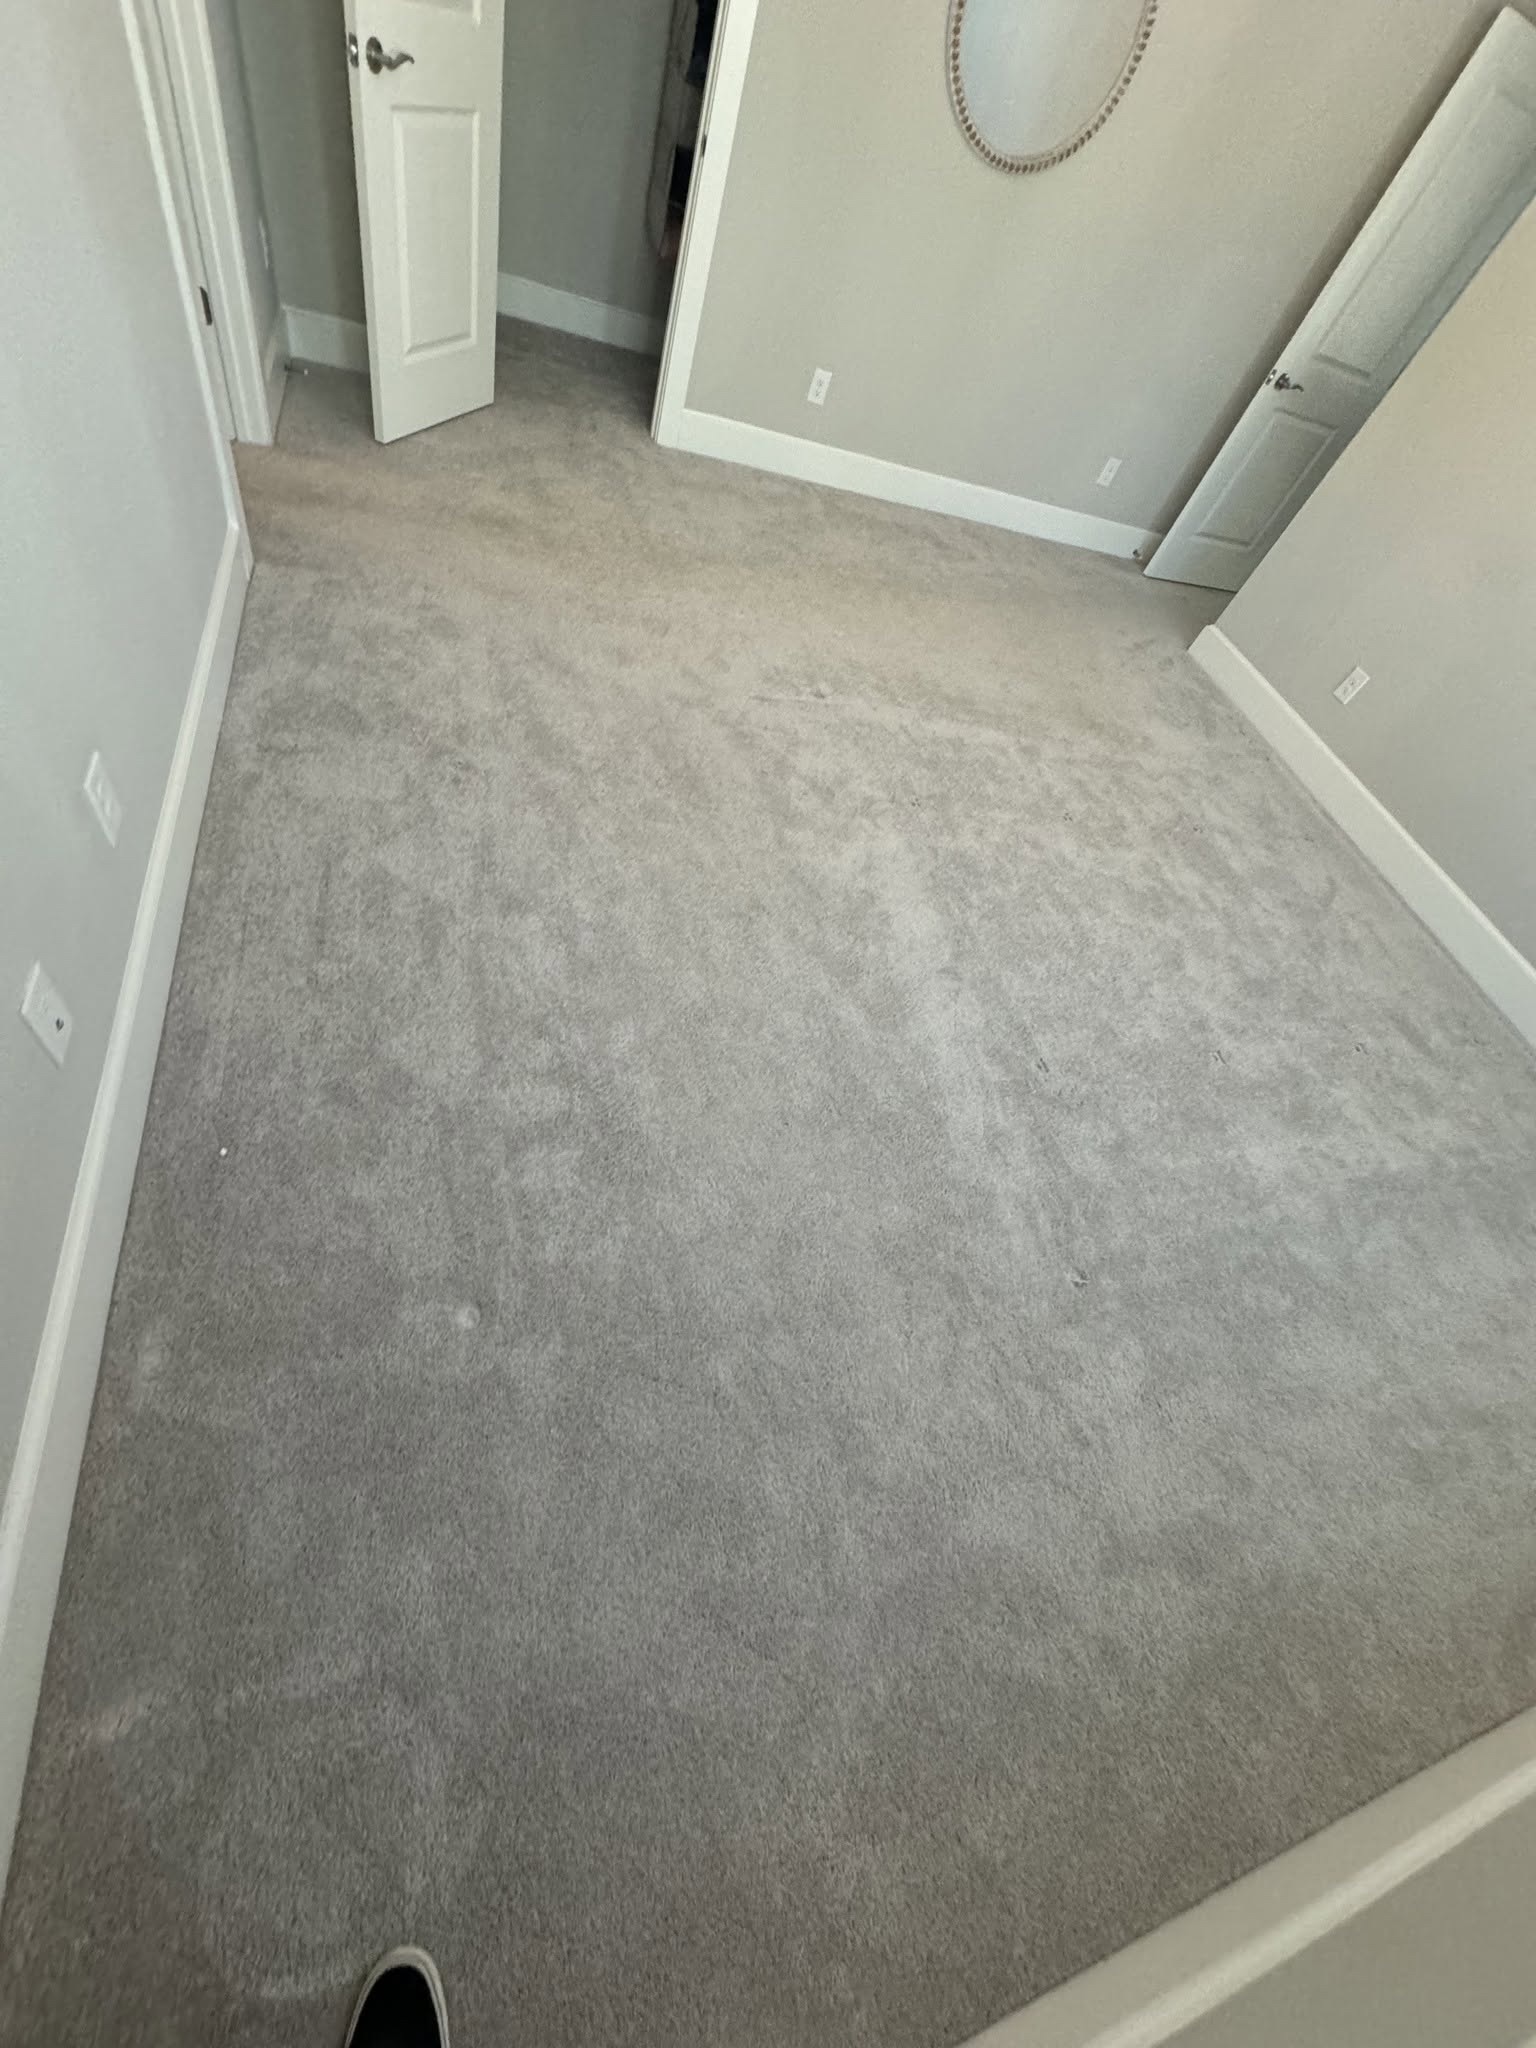
These two rooms kept their familiar furniture and gained new carpet beneath it. We removed the existing carpet and completed a new installation in each room. Once the furniture was returned, the change became part of the rooms as they are lived in. The fresh carpet runs beneath the same pieces and across the open floor, giving both spaces a new starting point underfoot.

Photos document real project conditions. Final appearance varies by product, room lighting, and installation.

Ready to start your project?

Request a free in-home consultation and we'll bring samples that fit your style and needs.